
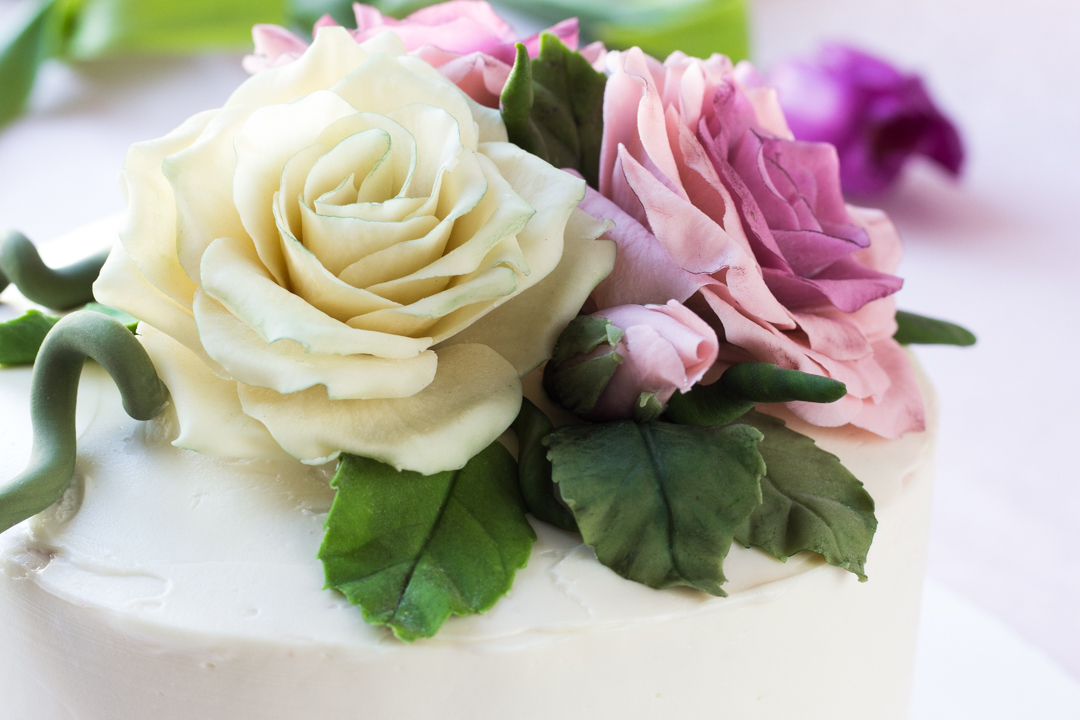
Chocolate roses – realistic and fully edible! The detailed step-by-step master class with photos! The recipe for the perfect chocolate for flowers!
How to get full and permanent access to the master class
Chocolate flowers are a luxurious cake decor. They are made without the use of inedible elements, such as wires, stamens, ribbons, etc. Unlike sugar paste, chocolate petals do not need drying, so you can assemble the flower faster. Chocolate does not melt on damp creams and does not become deformed. With due diligence, you will make flowers that will look like live on the cake! But edible and tasty!


What will you find in this lesson?
- 100% working recipe and detailed technology for making home plastic chocolate.
- Features of working with plastic chocolate and lifehacks.
- The detailed technology for assembling the rose, as well as buds and leaves which will be useful for creating a composition on the cake.
- Tips for decorating the cake with flowers from plastic chocolate.
- Secrets of working with color: how to paint flowers and leaves for greater realism.
- Features of storing chocolate mass and finished flowers from it.
To all concerned – welcome to my kitchen!
And the first thing we make with you is an auxiliary product…
…edible glue!
Edible, harmless, without taste and smell. Many masters use melted cocoa butter and freezer instead of glue, but I like the glue more. It is cheaper as well.
You can buy edible glue, but I make it myself. For this purpose, we need CMC (carboxymethyl cellulose) powder. It is sold in stores for confectioners.
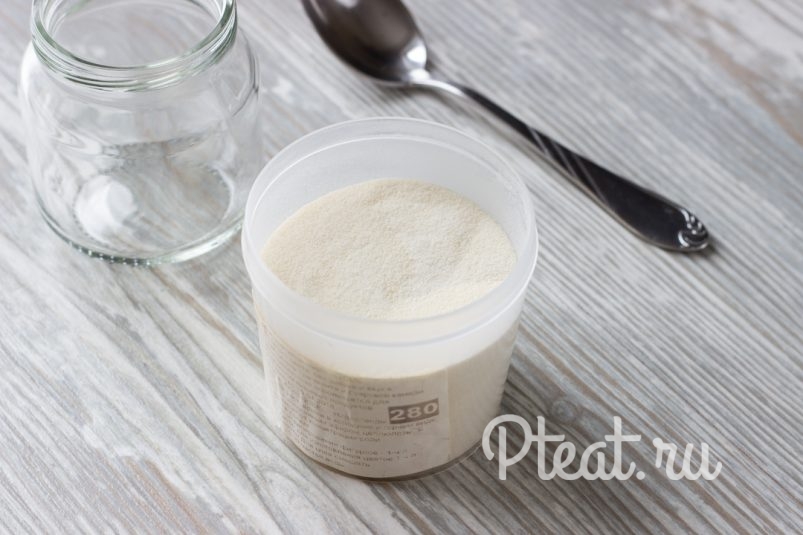
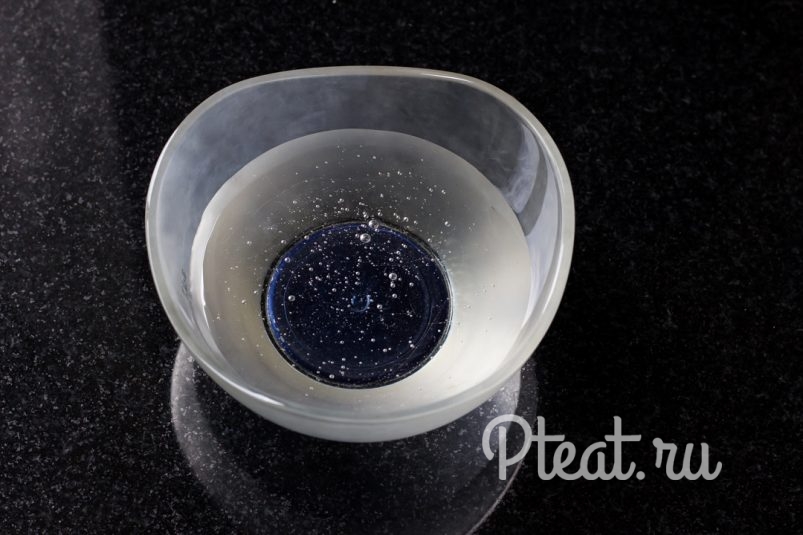
Pour 1 full teaspoon of СМС in the jar.
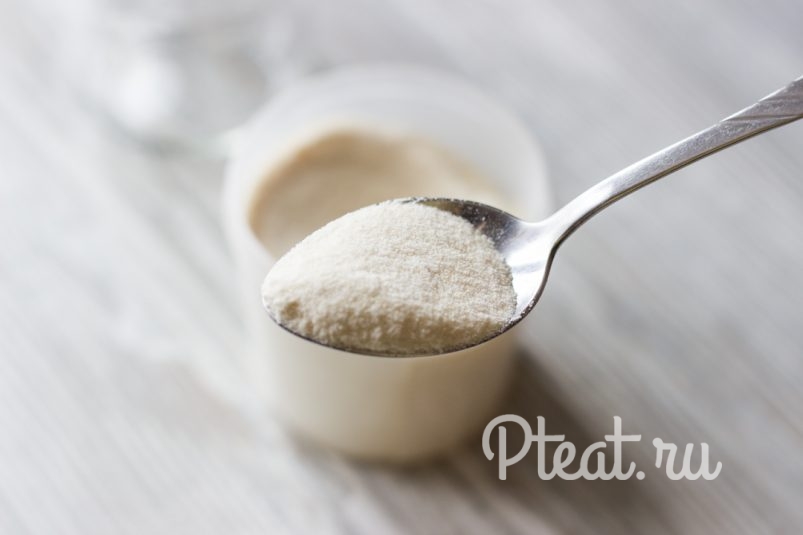
Add 25 tsp. of boiled and chilled water.
Stir.
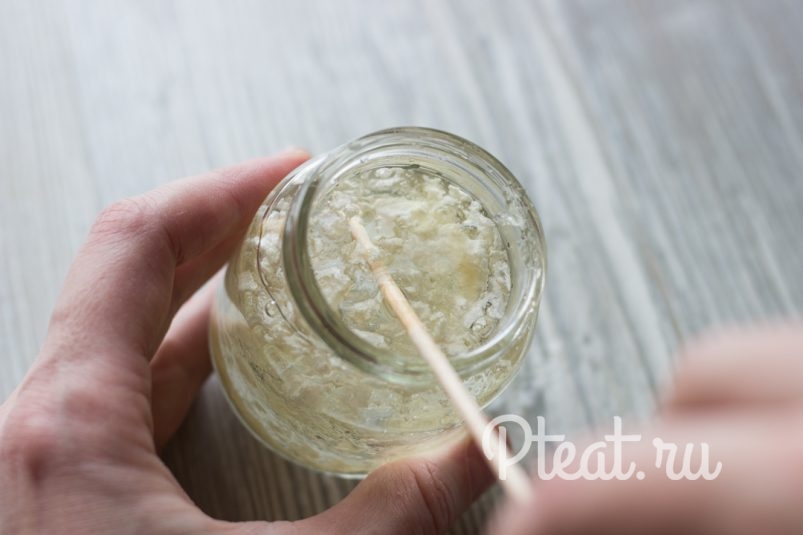
Close the lid and leave it overnight on the table.
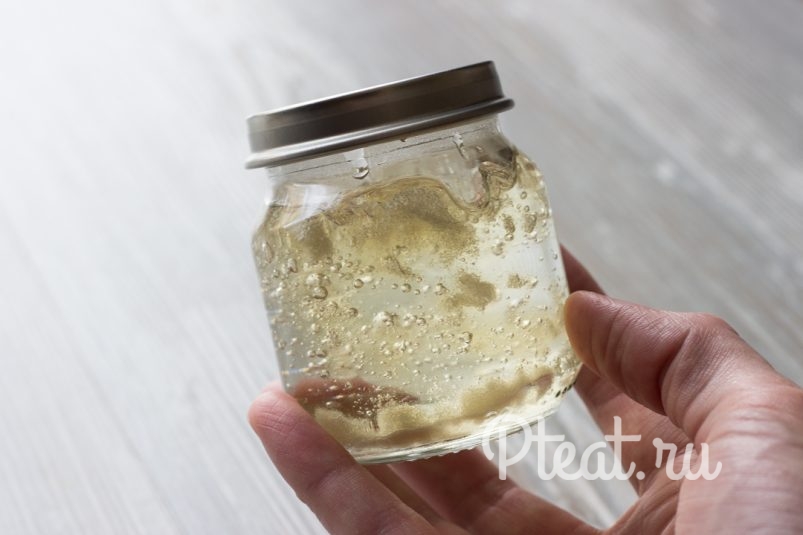
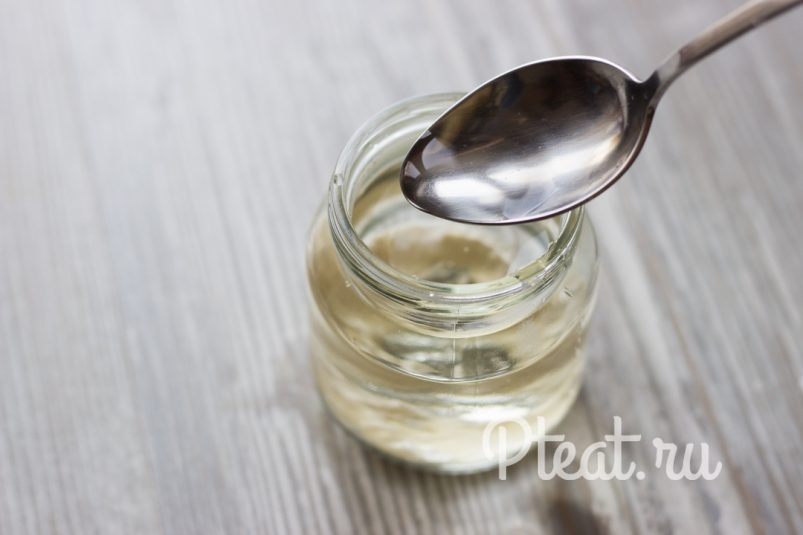
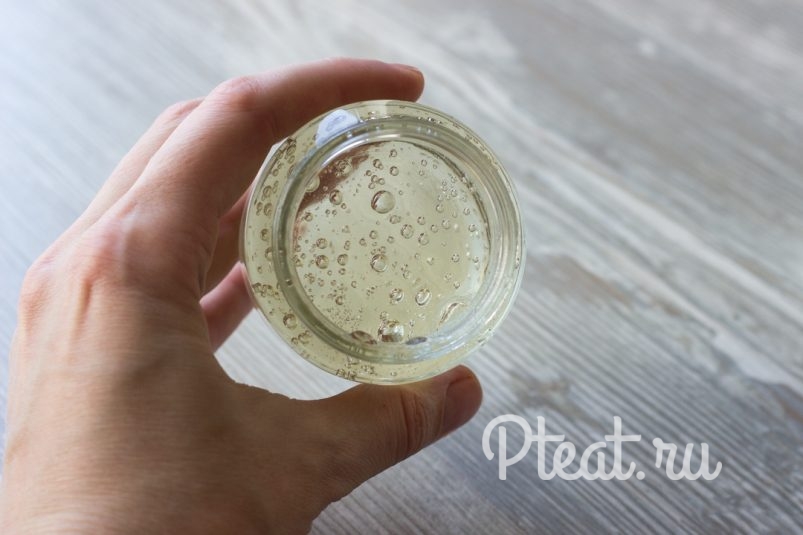
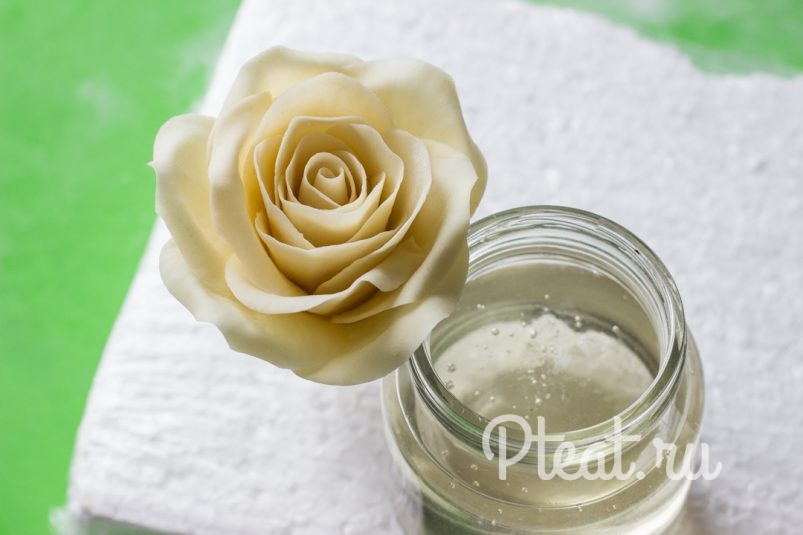
In the morning, our glue will be ready! Here it is.
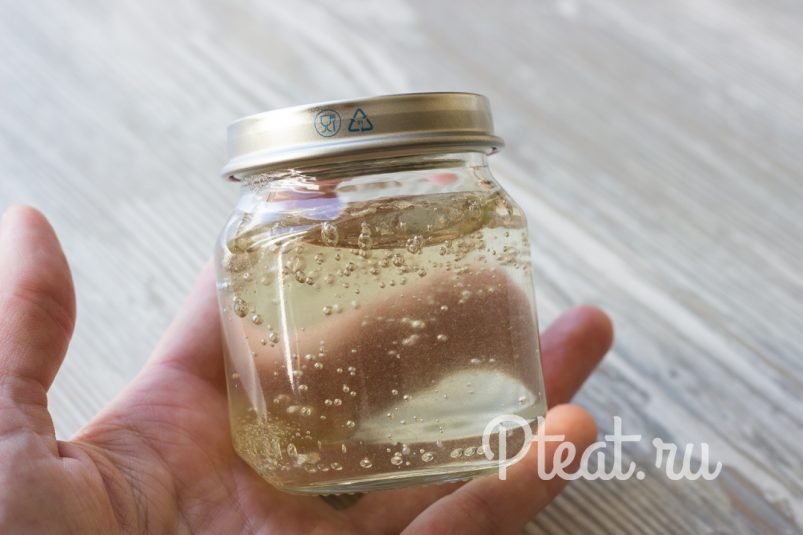
It can be stored as long as you want, in the refrigerator or at room temperature. The main thing – it should be in a tightly closed jar, otherwise it will dry out. If the glue is too liquid, there was a lot of water – add a little more powder. If it is thick and hard to be taken with a brush, there was a lot of powder – add a little more water.
Plastic chocolate
IT IS IMPORTANT to strictly adhere to the sequence of actions and the temperature values!
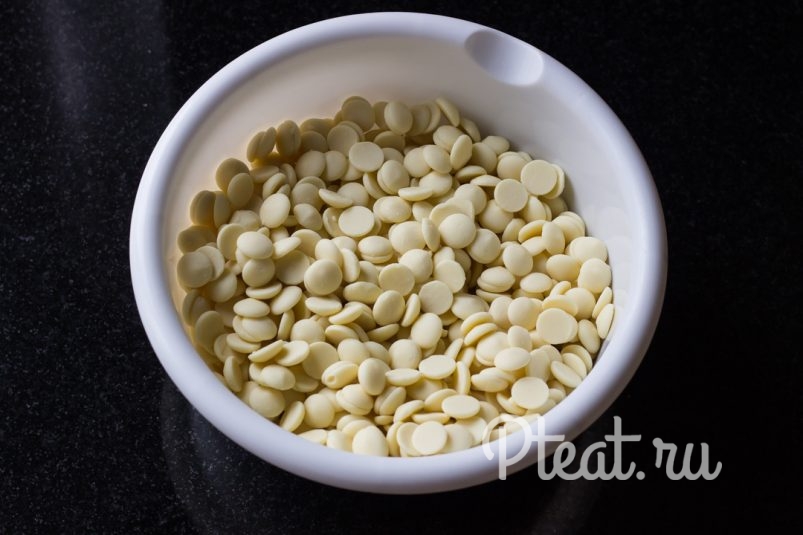
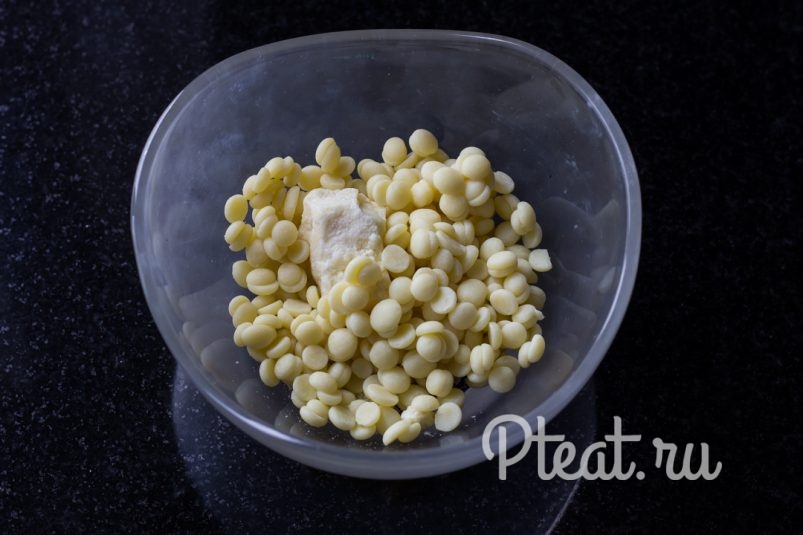
Take 500 g of white chocolate. I have Callebaut, but you can take another one. Place the chocolate in a dry and clean bowl, preferably plastic, for microwave ovens (and if you do not have a microwave, then in a heat-resistant bowl). The plastic does not heat up and does not impart its heat to the chocolate.
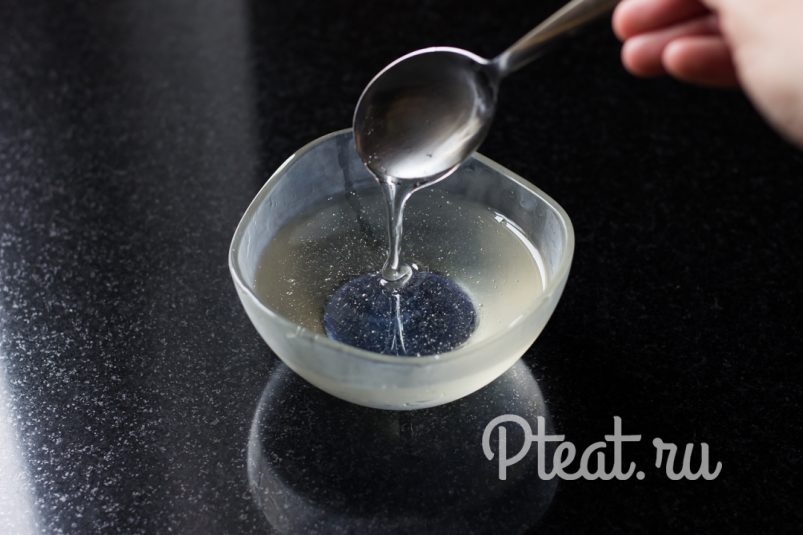
Pour 180 g of glucose syrup in a small separate container.
It can be replaced with honey. But the result depends on the honey quality. The result is more predictable with glucose syrup.
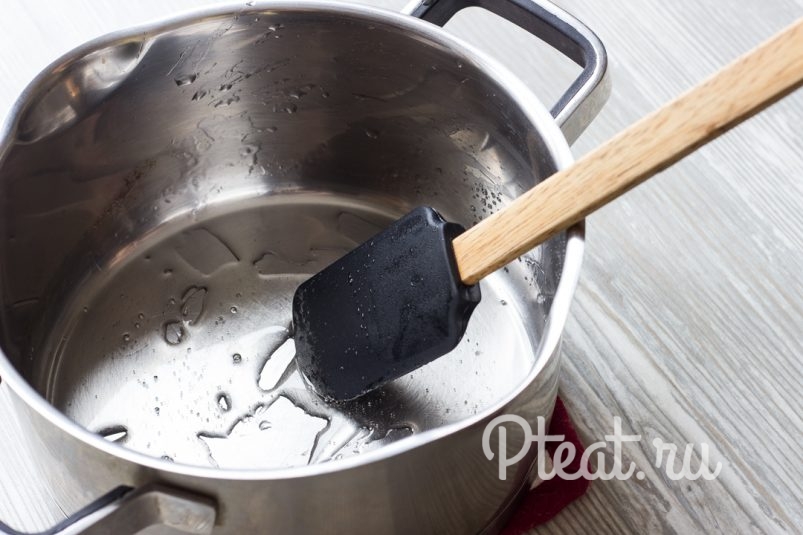
Boil another syrup of 30 g of sugar and 30 g of water in a saucepan. Just mix sugar and water, boil until sugar dissolves. We need 40 g of ready syrup, but, since water evaporates, we take a little more ingredients.
We pour 40 g of the resulting syrup into glucose. Stir. Put it aside.
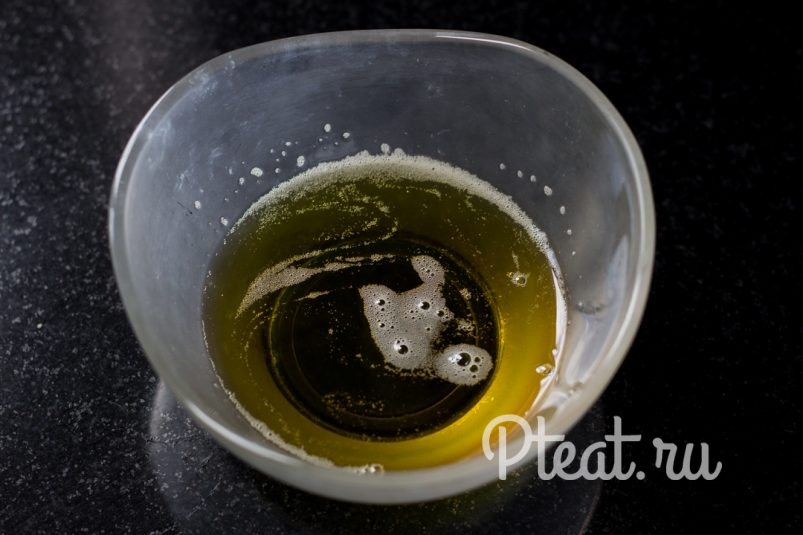
Put 40 g of cocoa butter in a separate bowl.
Melt it in the microwave. If you have not one, melt in the water bath, but make sure that water does not get into butter!
It melts for a long time. I usually take it out before it completely melts: after five minutes it will reach the required condition itself.
So, we have prepared everything. Let’s mix.
Prepare a pyrometer (or an accurate culinary thermometer-probe, but it’s more convenient to use a pyrometer), and keep a hair dryer nearby (a microwave, or a water bath).
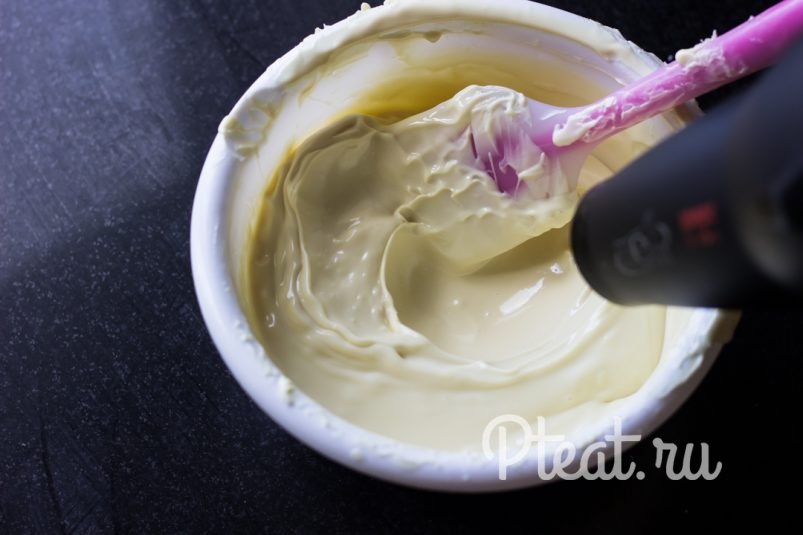
Melt chocolate in the microwave with 15-20 s pulses. If you don’t have one, use a water bath. But do not let water to get to the chocolate!
Chocolate will melt slowly, but will gradually turn into a fragrant liquid mass. Warm it up to a temperature of 40-45 degrees.
Pour melted cocoa butter.
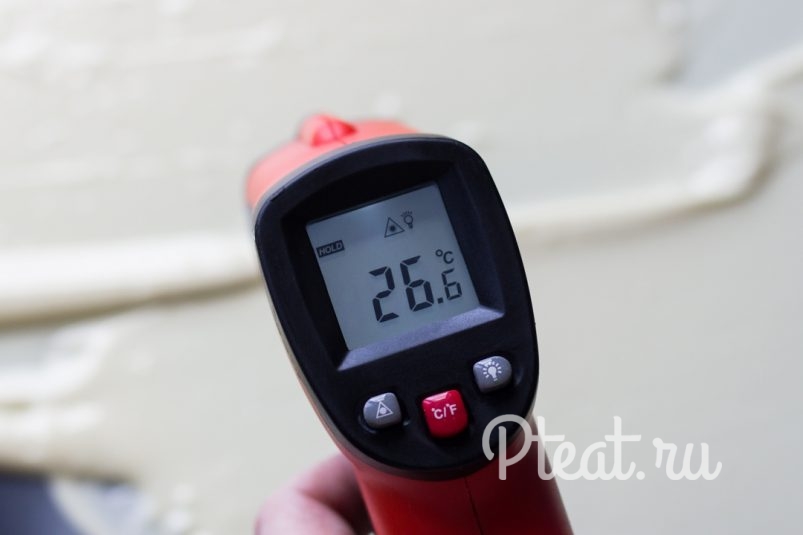
Stir the mass until it becomes uniform and quickly cool the chocolate! I do this through a classic way of chocolate tempering – on a granite slab. But you can chill the chocolate at home simply by placing a bowl of chocolate in a wider and deeper bowl with frozen peas or ice. After placing, mix chocolate, periodically measuring the temperature with a pyrometer or thermometer-probe.
Chocolate should be cooled to 26 degrees. It will be VERY helpful if it should be cool in the kitchen: the best temperature in the room for working with chocolate is 16-18 degrees. Turn on the air conditioner if it is possible. If you don’t have it (as me), you can open a window in the cool season or on the summer night. Remember: the cooler the room, the easier it is for you! Hot summer is not the best time to work with chocolate. It is easier the cold season but the main thing is the desire: you can work all the year round even without an air conditioner.
But you cannot do without a pyrometer or a culinary thermometer with a probe: without practice, it is impossible with a naked eye to determine that chocolate is of the right temperature.
Collect chocolate in a bowl, if it was tempered on a stone, like I did.
Now, take the dryer and heat the chocolate from a distance of about 20 cm. Also in pulses! A few seconds each! Very carefully! It’s very simple to overheat it, and then you will have to cool again.
Having no hair dryer, heat it in a microwave, but carefully: temperature increases literally in a few seconds!
You can heat in a water bath, but this is the most inconvenient option because it takes longer, the bath itself should be heated, water can penetrate chocolate which is unacceptable, and so on.
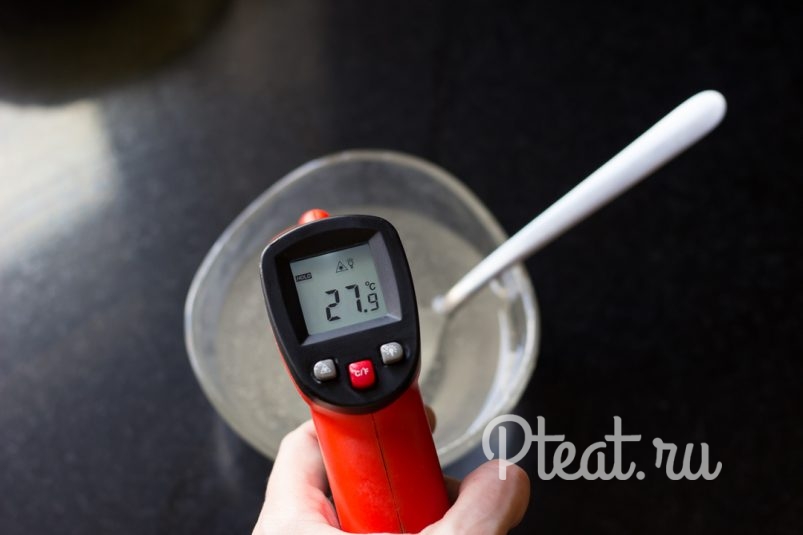
Heat up to 28-29 degrees, not higher.
Simply put, everything that we are doing now is called with a clever word tempering. That is, we bring chocolate to the first temperature (for white chocolate, it is 40-45 degrees), quickly cool to the second temperature (26 degrees) and reheat it to the third temperature (28-29 degrees).

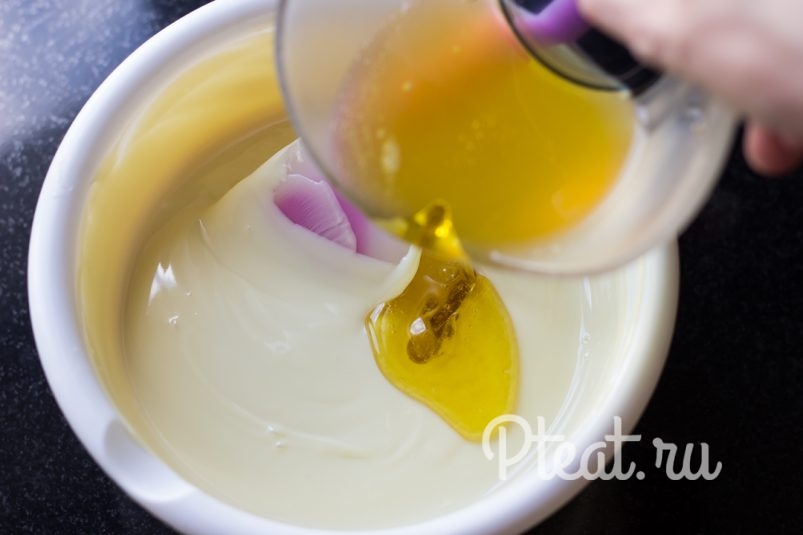
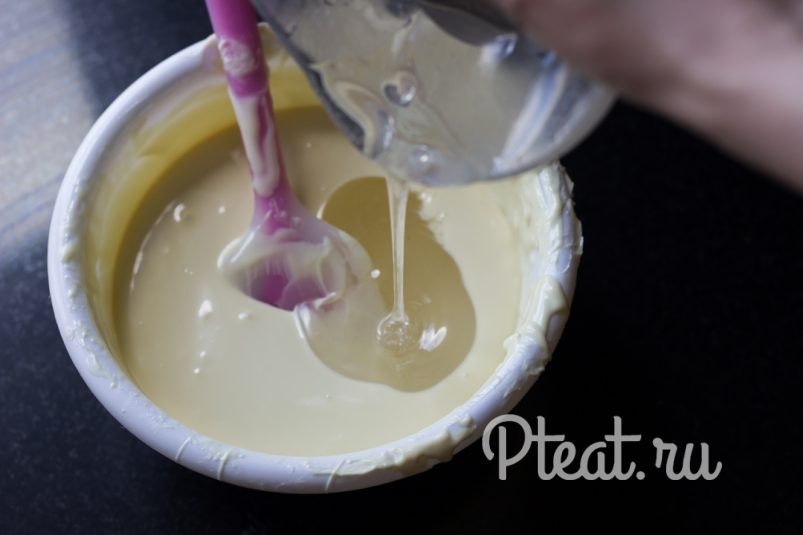
After chocolate, also heat up our mixture of glucose syrup and sugar syrup. It should be the same temperature as chocolate, 28-29 degrees. I have almost 28, this is normal.
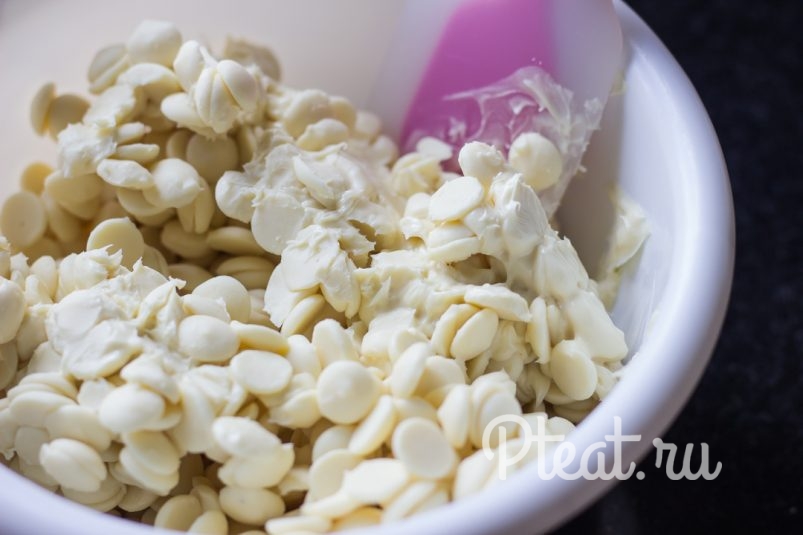
And now pour a mixture of syrups into chocolate.
Wait a minute or so.
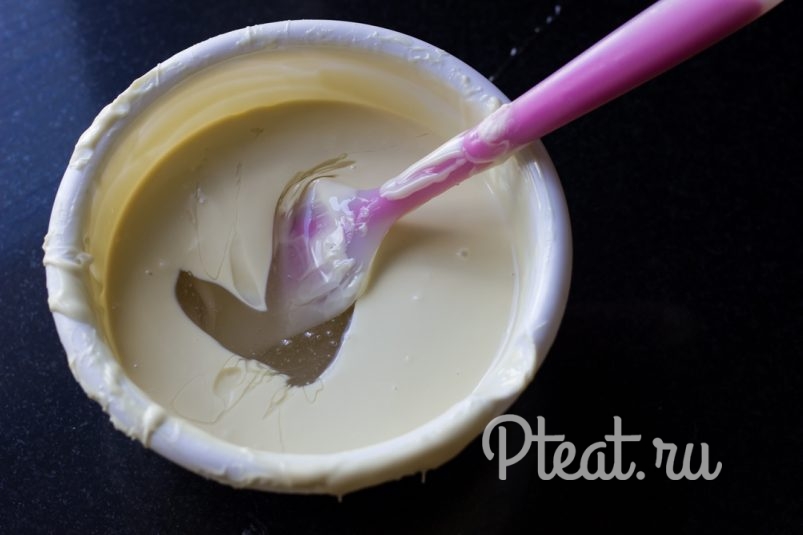
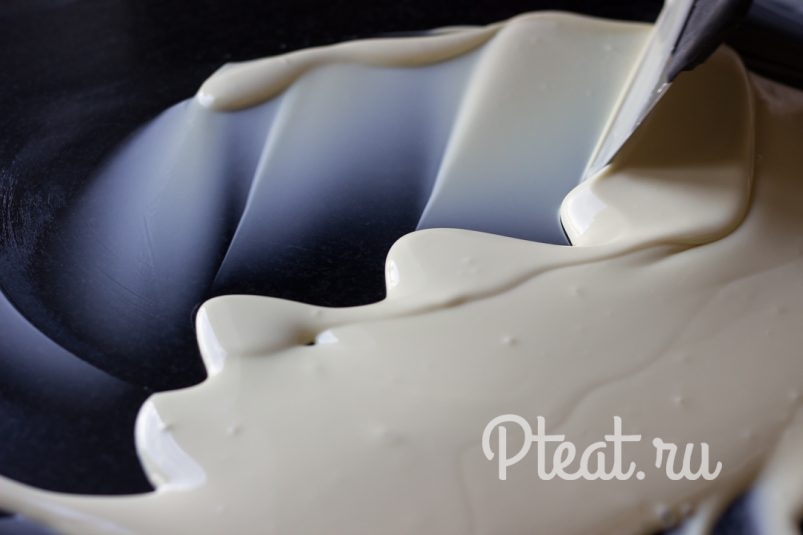
And stir very carefully and slowly.

The mixture will visually thicken.
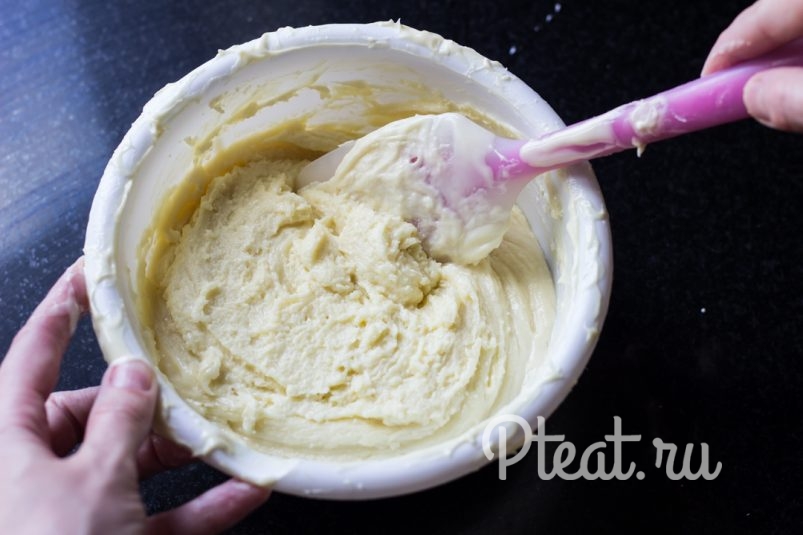
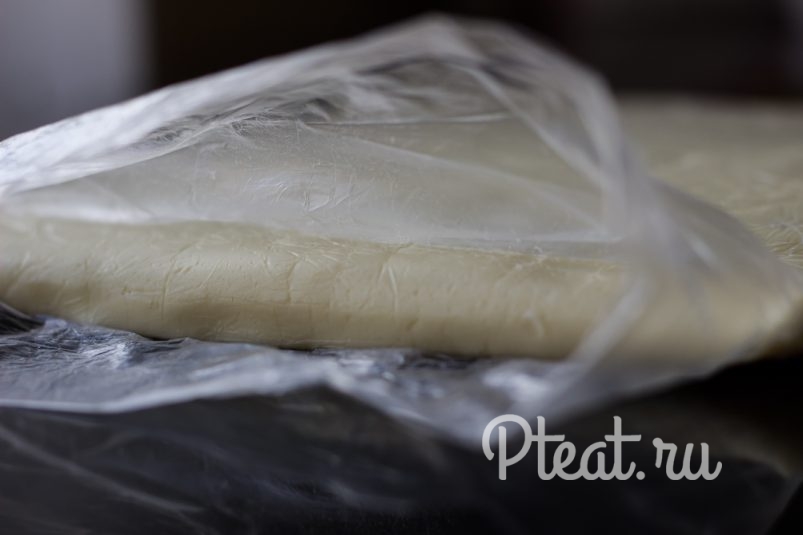
Put the thickened mass into a clean bag.
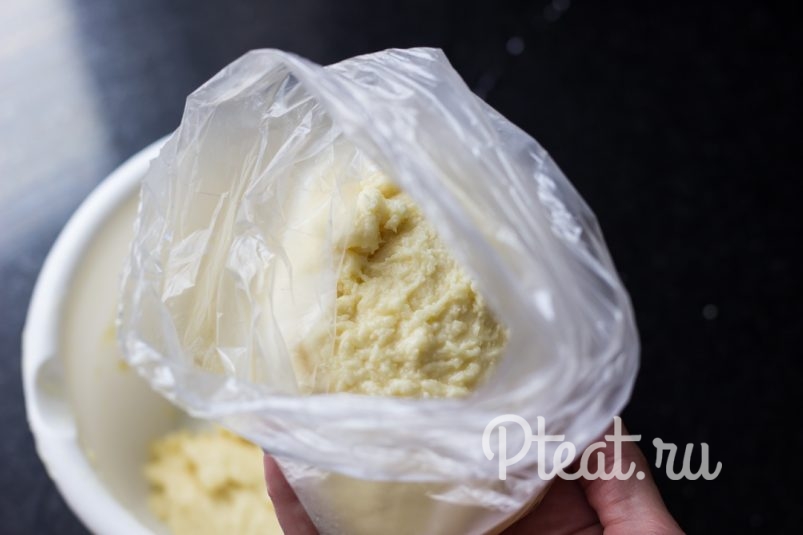
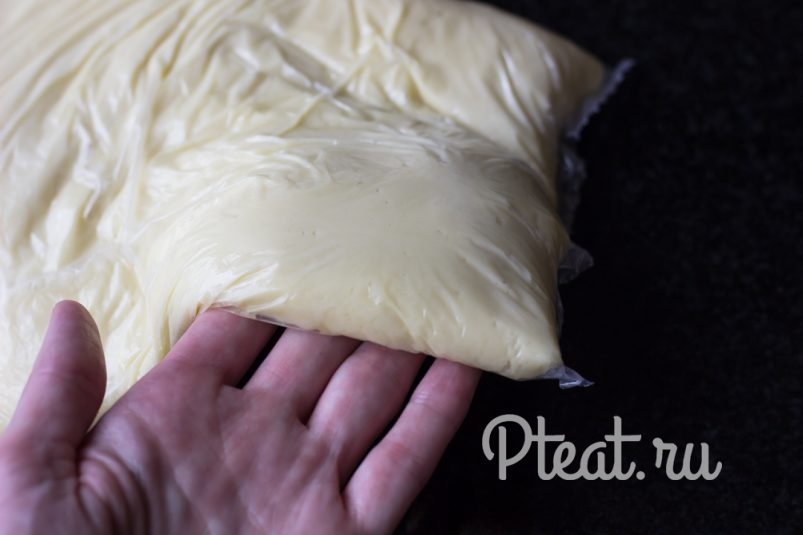
Flatten it a bit.

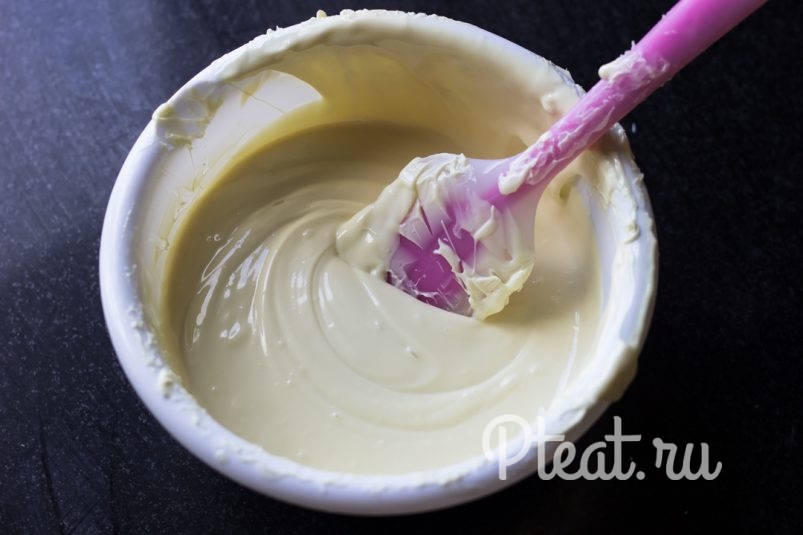
As you can see, chocolate is very soft.
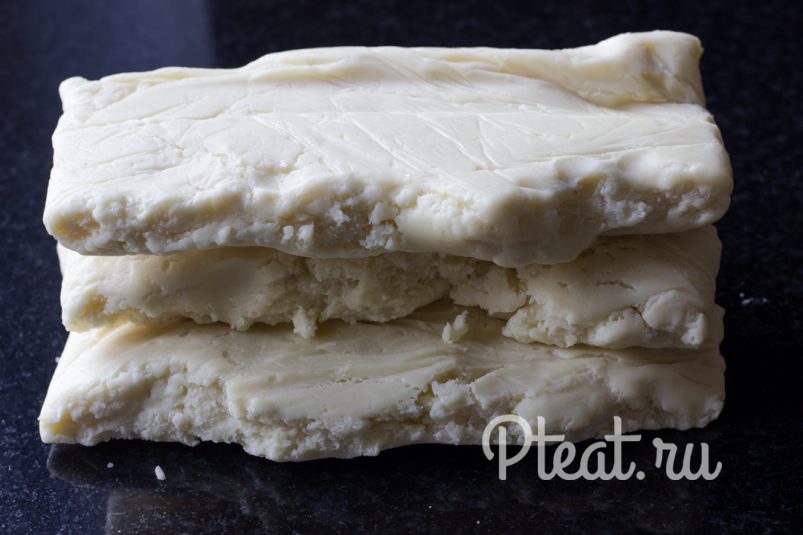
Put it in the refrigerator for half an hour.
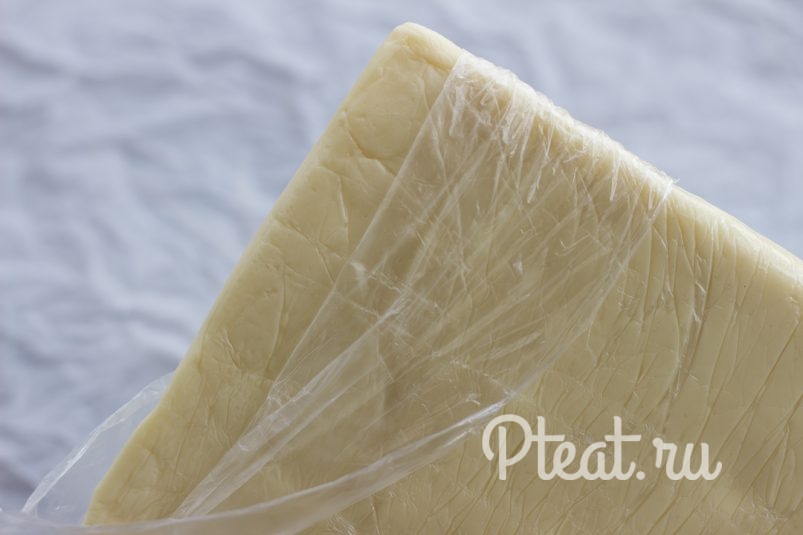
After this time, take chocolate out. It will become hard, but can remain slightly soft in the middle. It is even good because it will be easier to be mixed.

Our chocolate is almost ready!
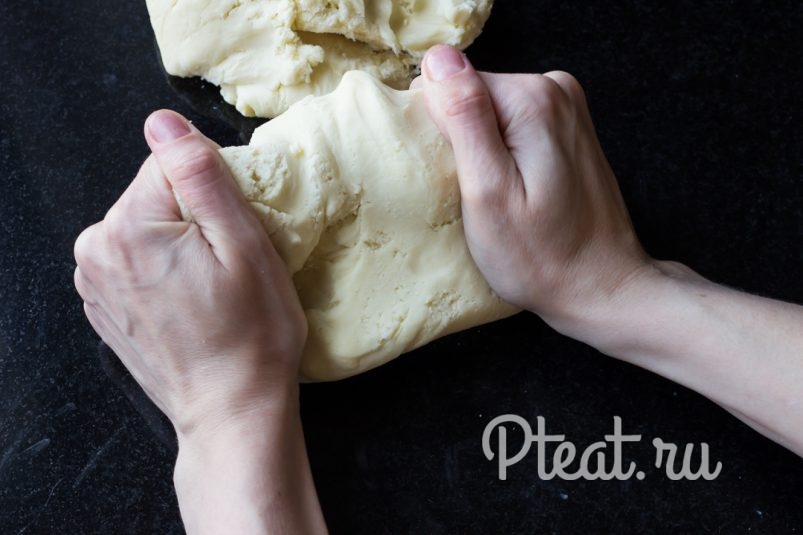
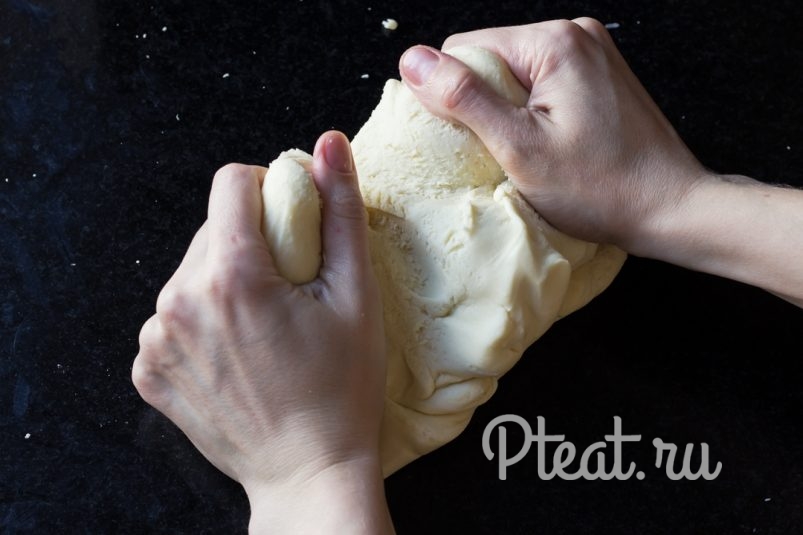
Now squash it like dough)
For many people it is difficult to mix chocolate very well – until getting a homogeneous smooth mass without hard small lumps causing inconvenience in further work. If you did everything strictly according to the instruction, there should not be lumps, but if they exist, I will prompt a barbaric way to get rid of them!
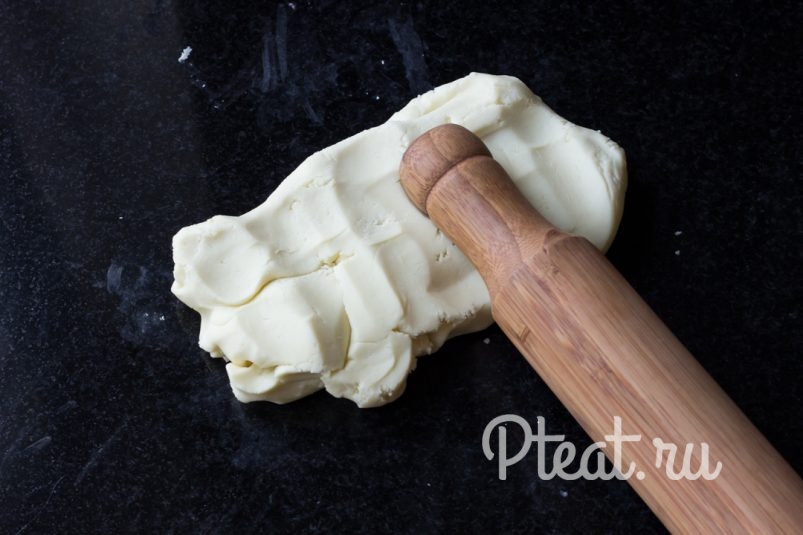
While mixing, take a rolling pin and beat chocolate with it)
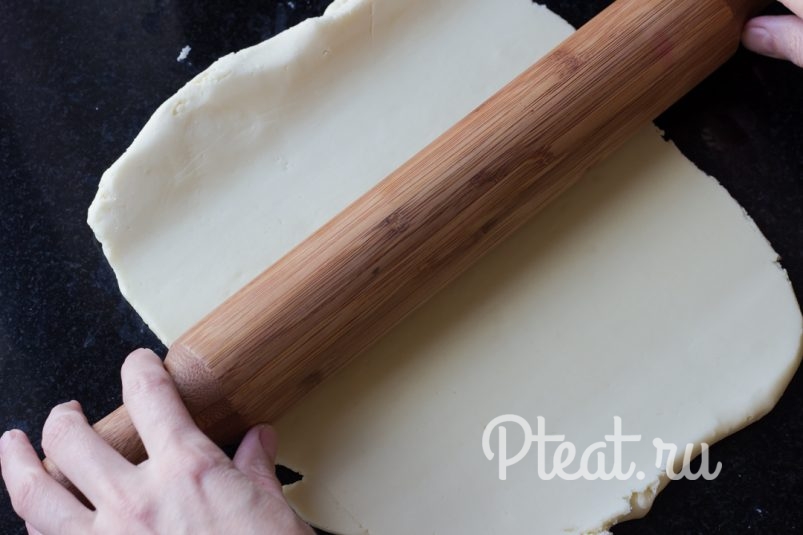
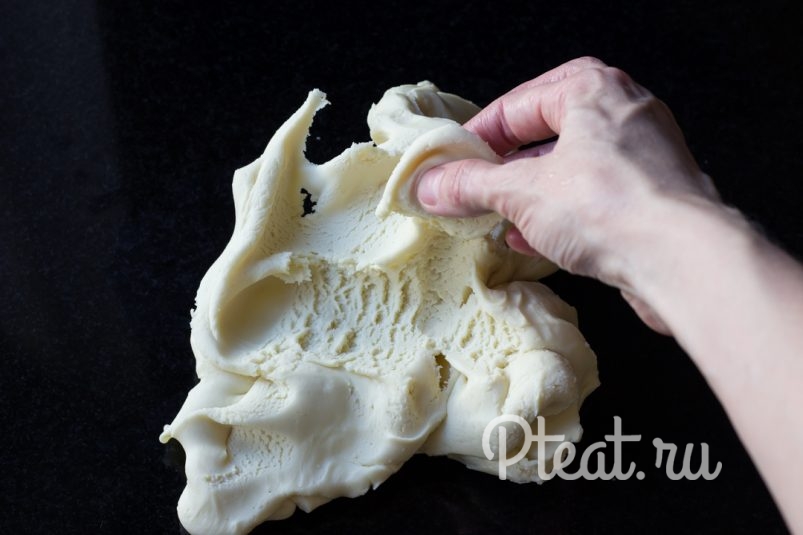
Roll chocolate out so that it should become thin (on a table or silicone rug)…
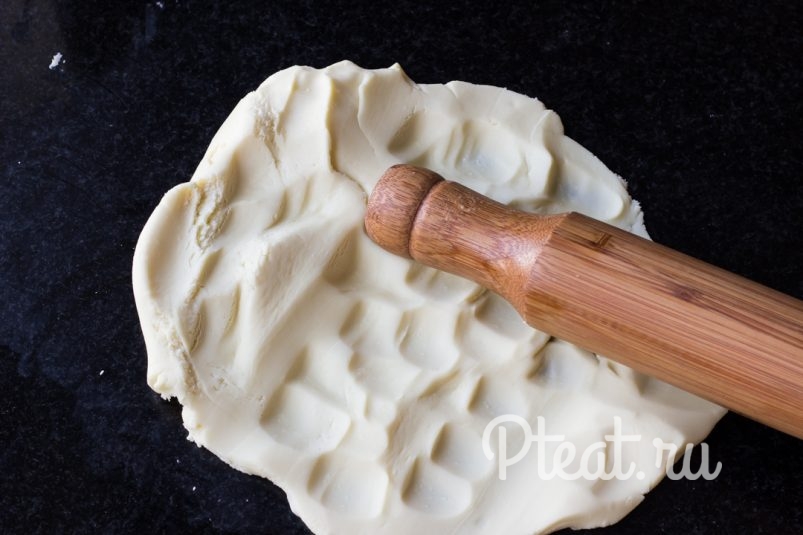
…and make a ball of it and beat with a rolling pin again. Sounds funny? That is. But my task is to help you get an excellent result, and this method; despite being «primitive», it’s an effective method, especially if you are a hot-head.
Proceed this way several times and you get a perfectly smooth mass.
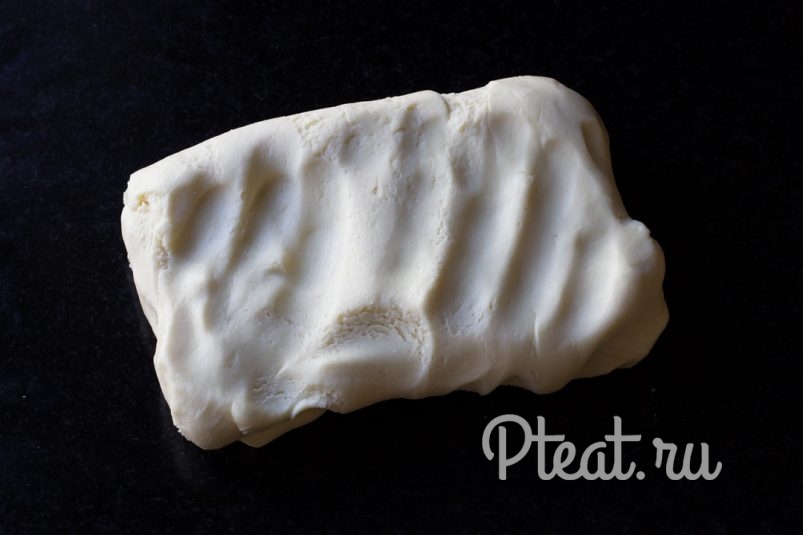
Well, if you still have a couple of balls, just press on them with your fingers, and they will melt.
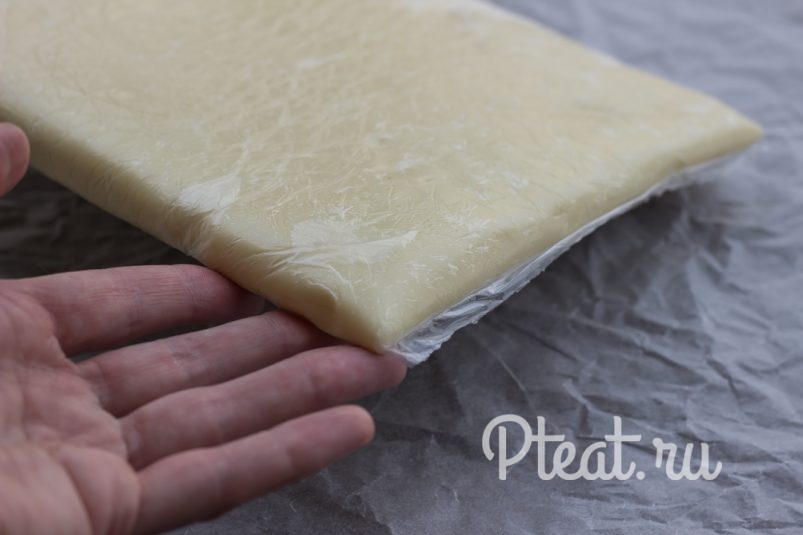
Assemble the finished mass like a rectangle.
Place in a clean bag.
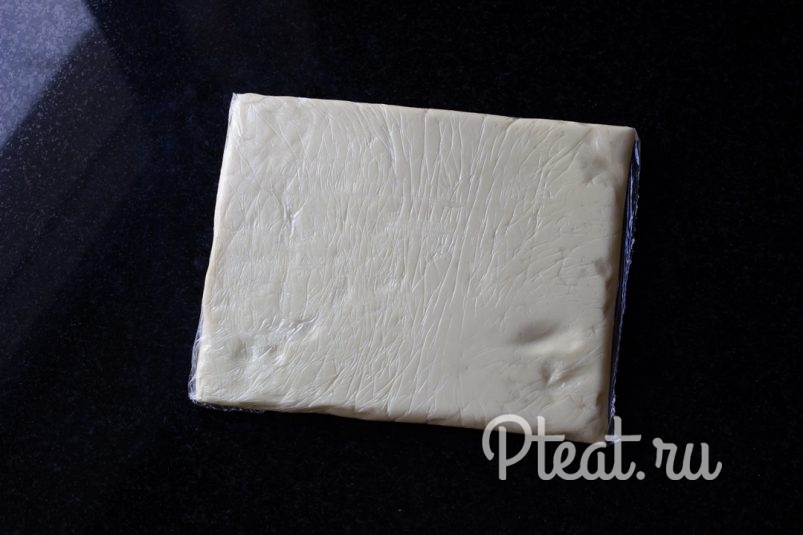
Put it in the refrigerator until it hardens. And you can work!
IT IS IMPORTANT! You may not temper the chocolate, but simply mix it with syrups at a temperature of 28-29 degrees (the chocolate and a mixture of syrups should be of the same temperature!), leave it for 15 minutes and gently mix. But you will not be able to work with this mass immediately! It will spread out in your hands, shine and keep the shape poorly. It will have to cure for at least 12 hours to maturate.
You can store the finished figurable chocolate as much as chocolate itself, in the refrigerator or in a dry dark place, at room temperature (below 30 degrees) and not exposed to the sunlight. It is best to kept ready-made flowers of it in an airtight container.
It is better to paint the figurable chocolate using dry or gel dyes to prevent thinning of the mass. Both water- and fat-soluble dyes are suitable. You can dye the syrup (sugar + water), you can add the dye during the second mixing. You can dye the finished product, but after adding the dye, put it in the refrigerator until stabilization.
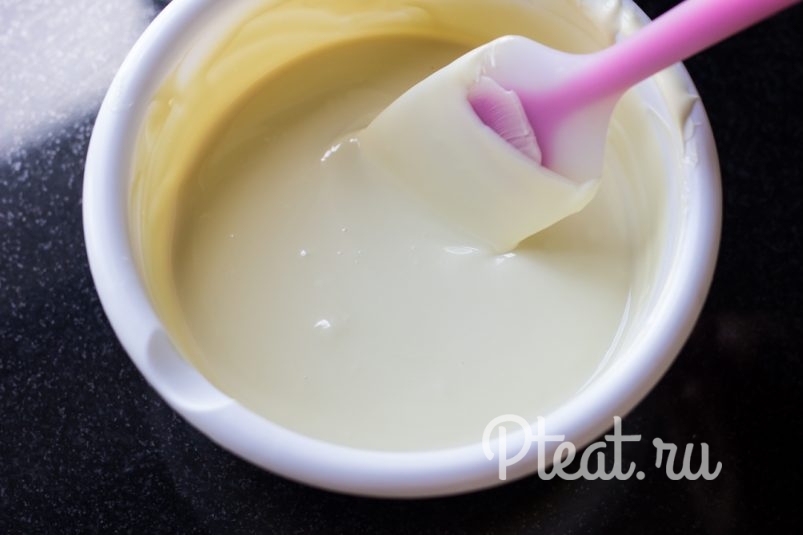
Ready chocolate keeps its shape.
Fragrant.
Beautiful.
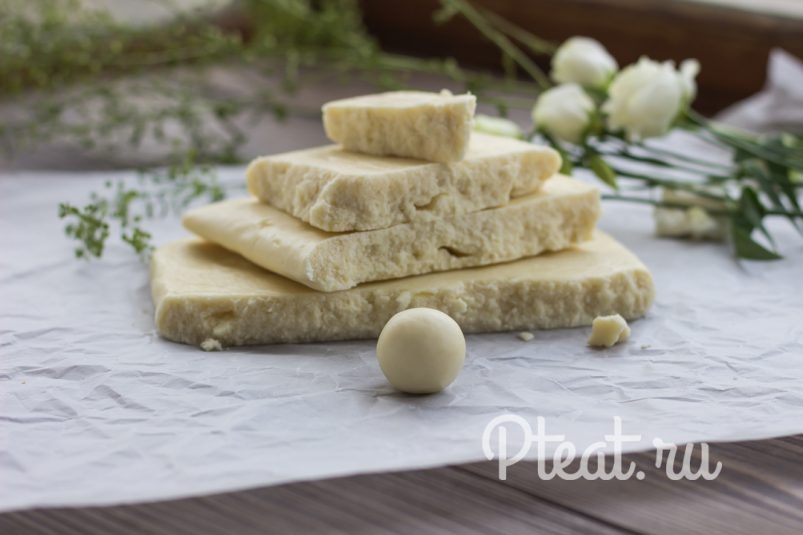
It is ideal for flowers because it is matte, can be thinly rolled out and keep the shape. Therefore, we will make flowers from it.
Rose assembling
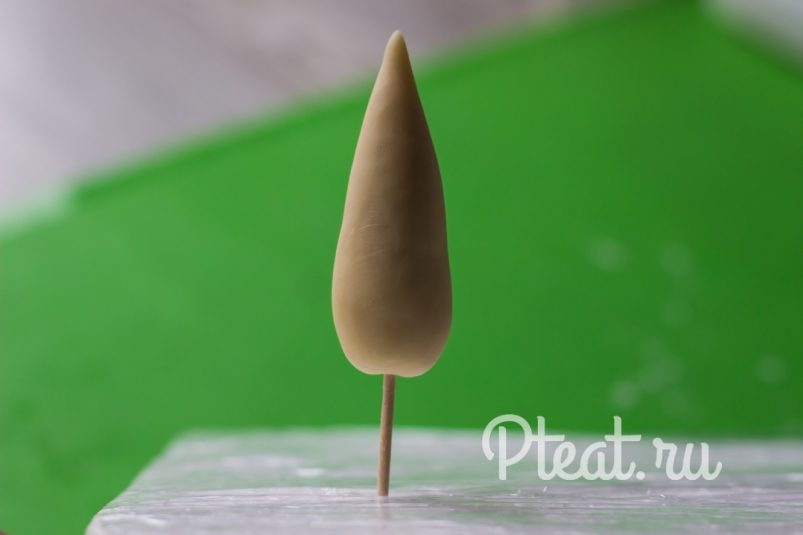
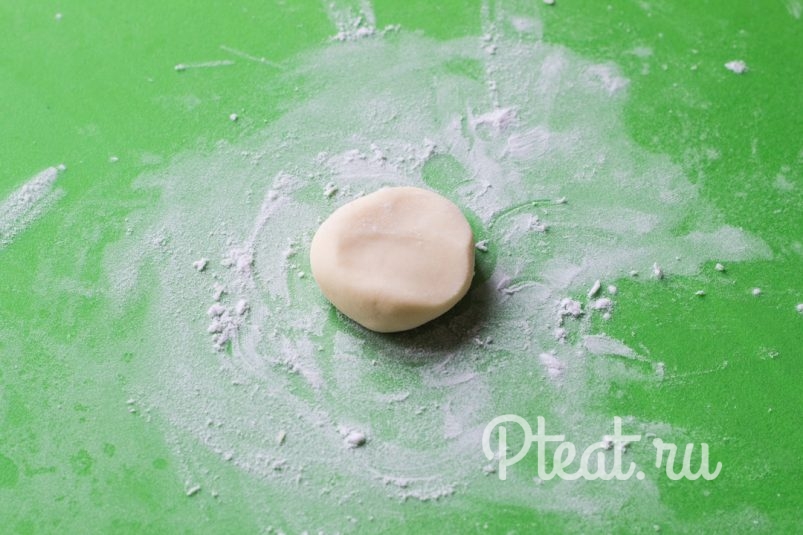
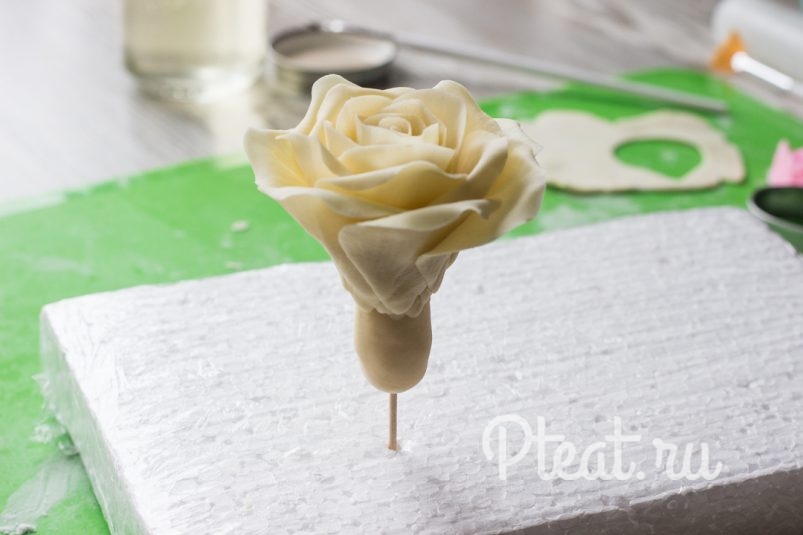
Knead a piece of plastic chocolate, make a cone. In height, it should be much larger than the future rose. Put the cone on a toothpick. While making petals, you can stick the toothpick with the cone in the foam plastic.
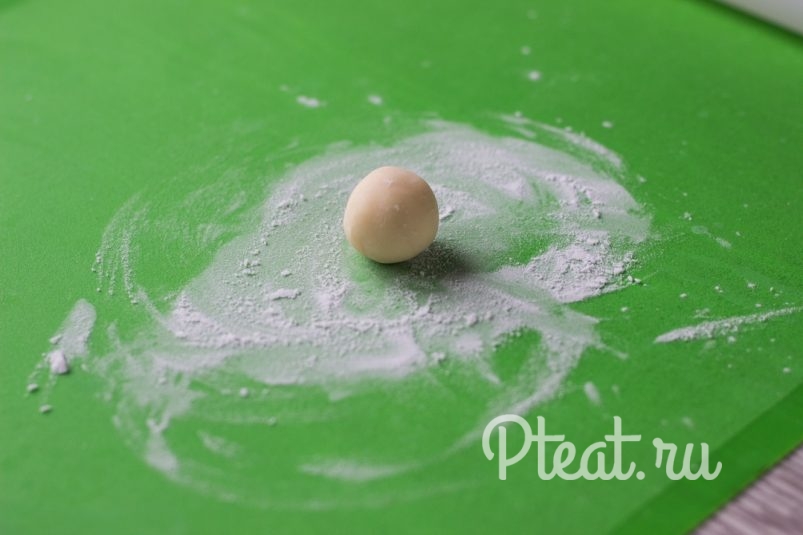
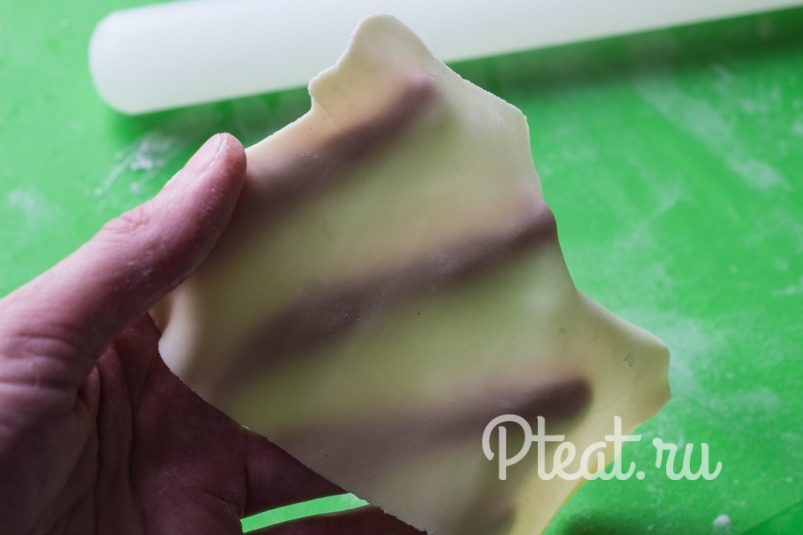
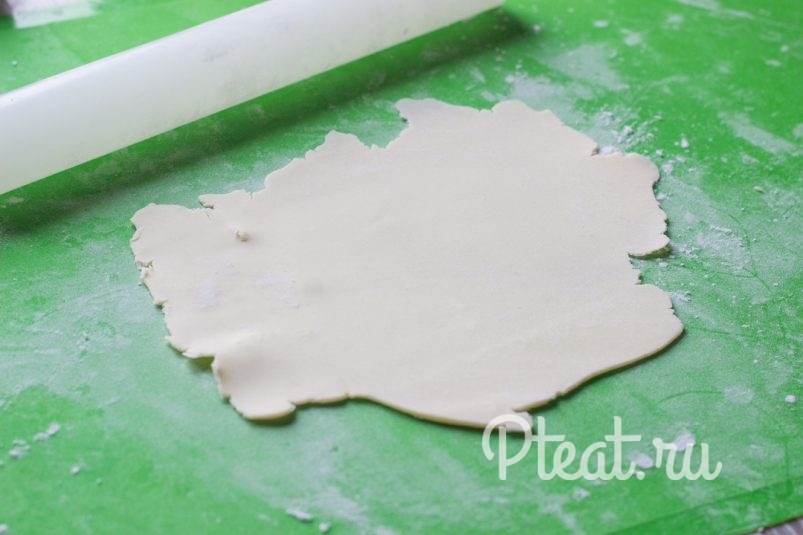
Take another small piece of chocolate. Roll it out thin, sprinkling the rug surface with starch!
Concerning starch. It simplifies the work, but if the room is cool, it is not necessary! Furthermore, use starch only on light shades of chocolate, since it is IMPOSSIBLE to remove traces of starch on dark chocolate, and it looks slovenly.
This layer is 1 mm thick.
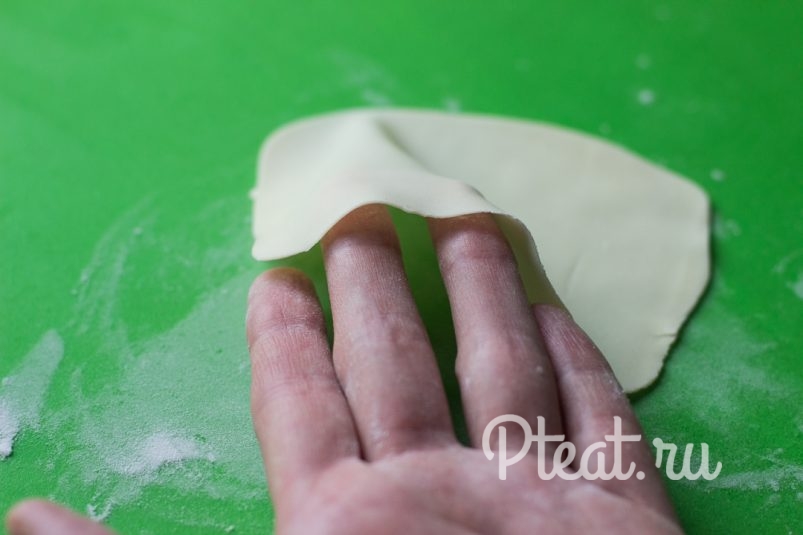
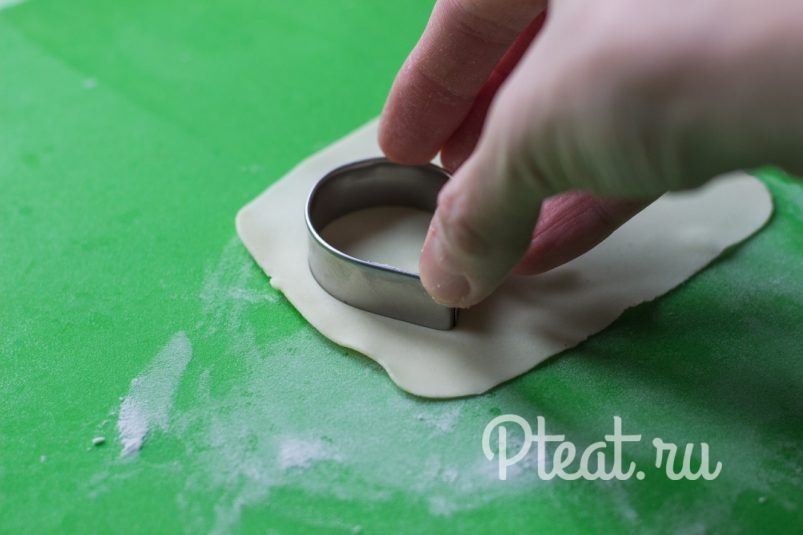
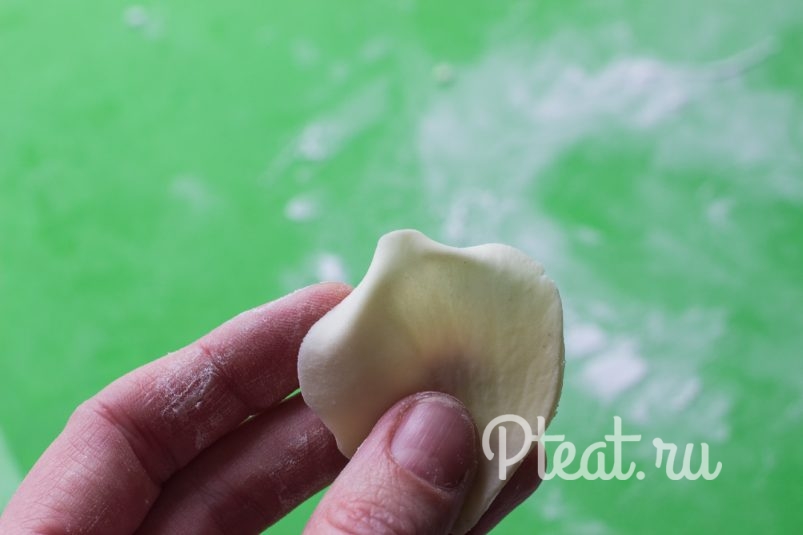
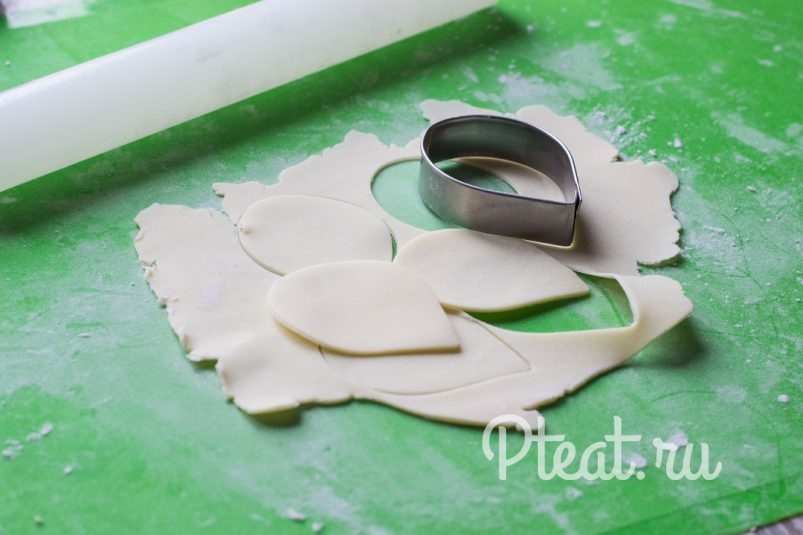
Use a smaller cutter to cut out a petal.
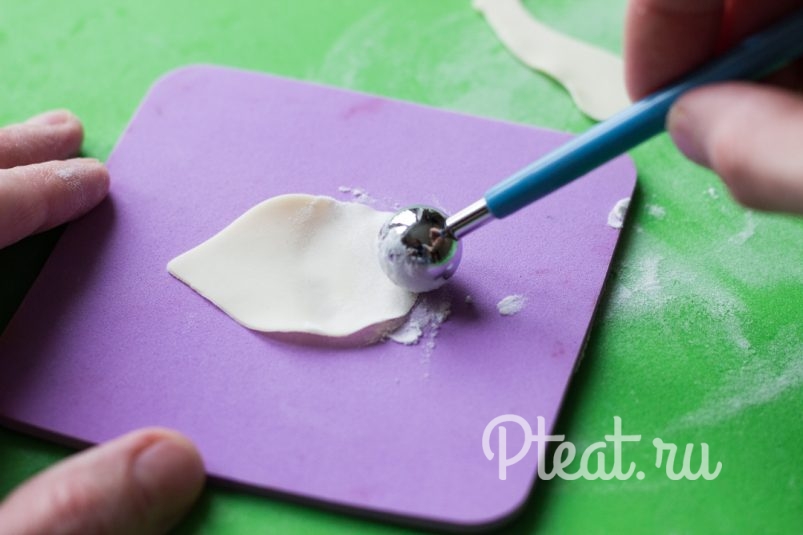
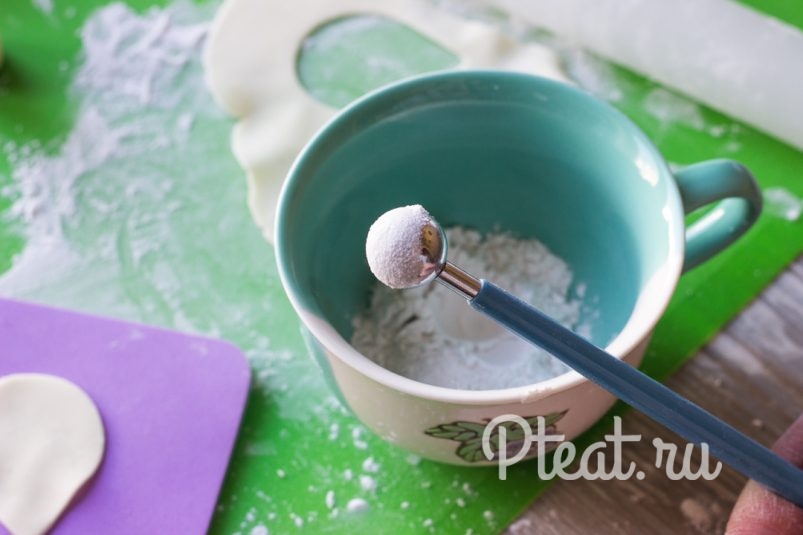
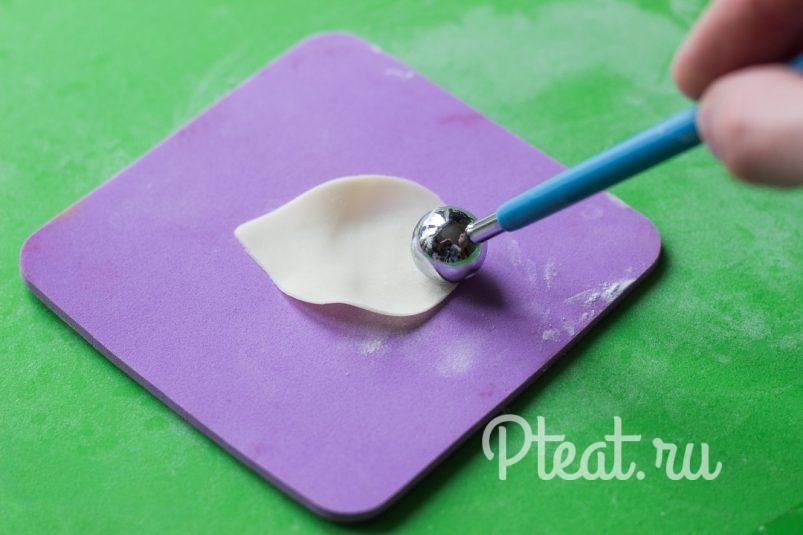
Put it on the mat for flowers (it is sold in stores for confectioners) and thin the tip with a ball. Rub on the top of the petal back and forth and in a circle!
If you use starch, it is convenient to pour it into a cup and dip the ball there.
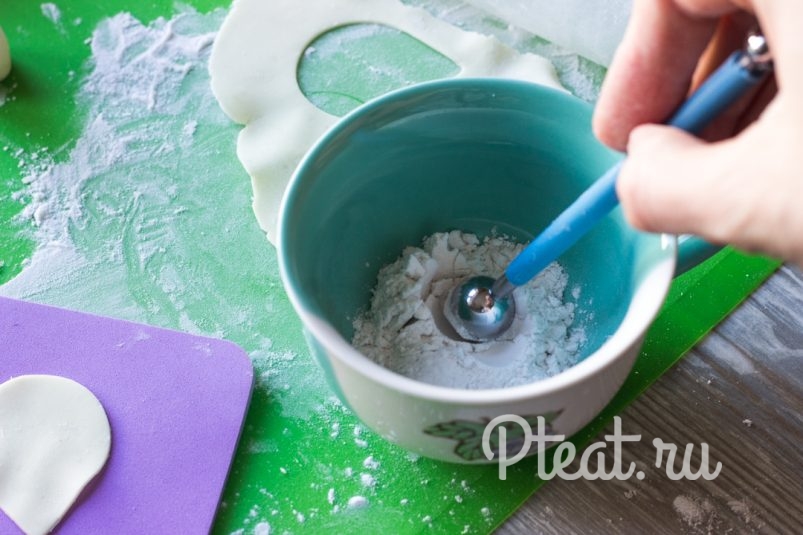
Like this. The ball gains starch and easily slides over the surface of the petal. It’s better to buy metal sticks with a ball at the tip! Plastic ones have a seam, and it leaves traces on the petals, and can even completely tear them.
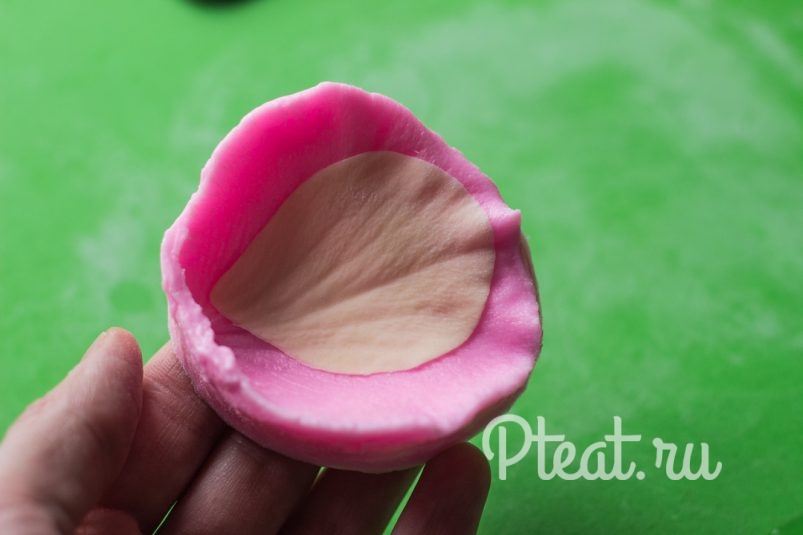
After thinning out the edges, place the petal into the mold.
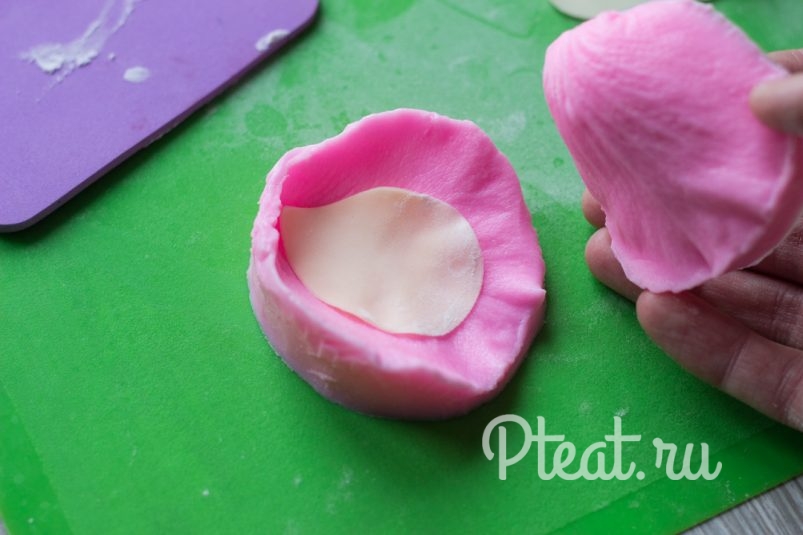
Press with the second half of the mold and release.
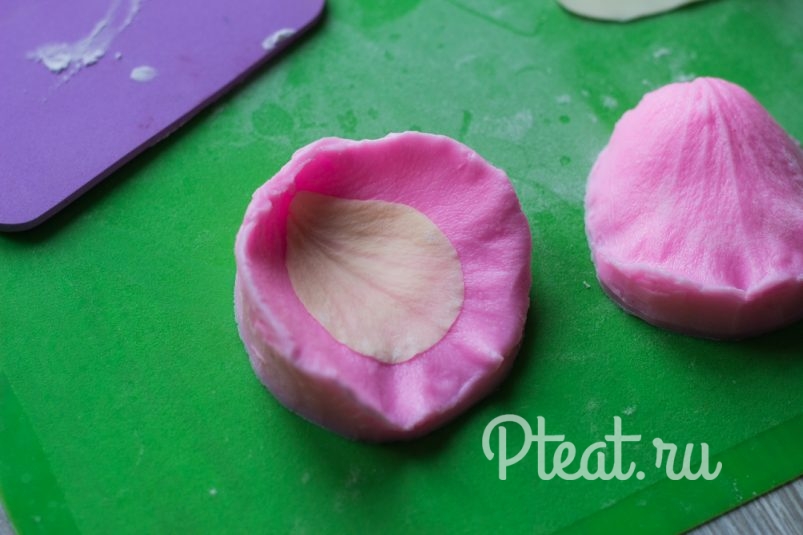
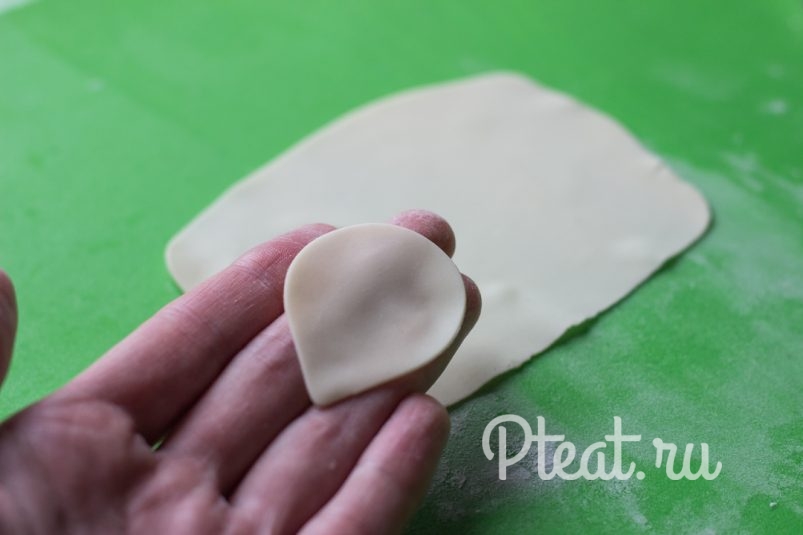
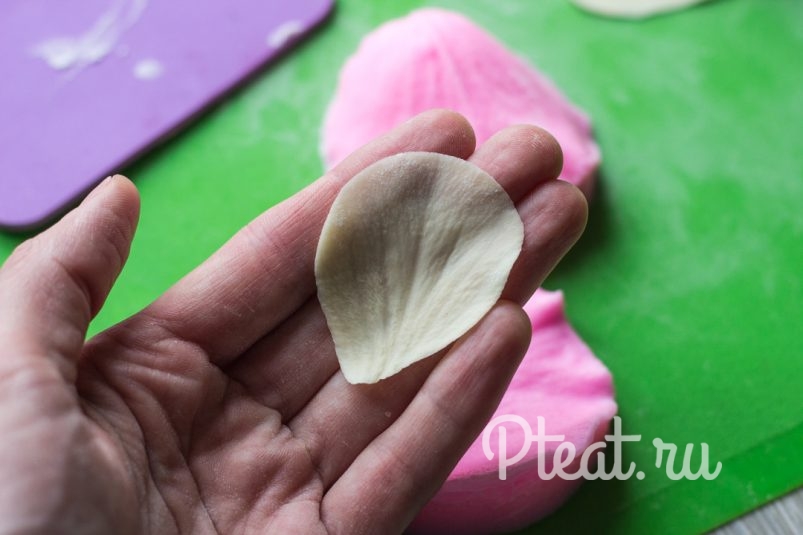
We have already got such a beautiful petal!
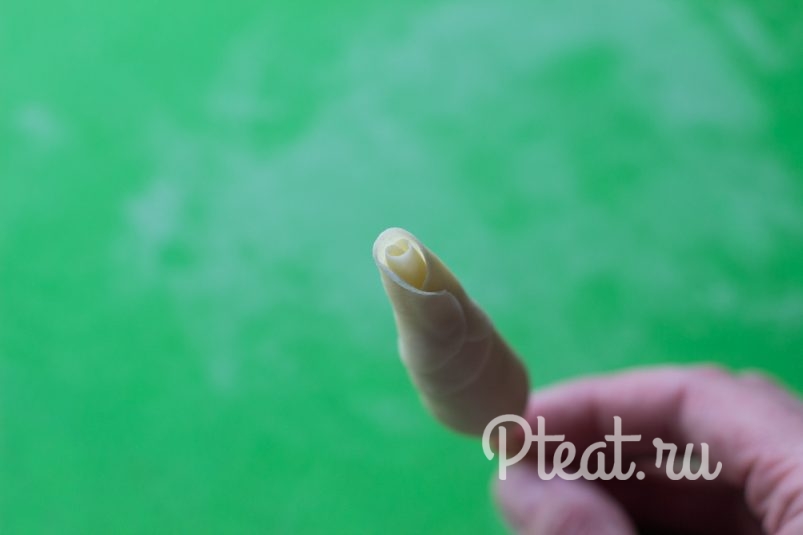
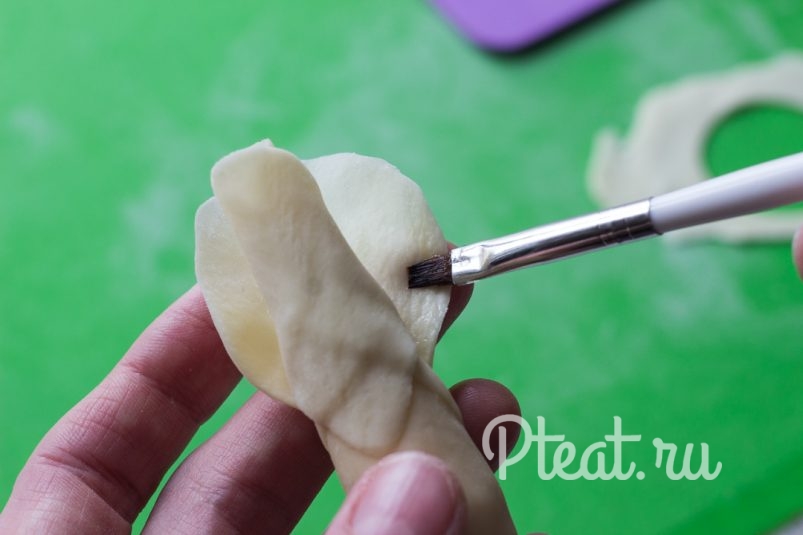
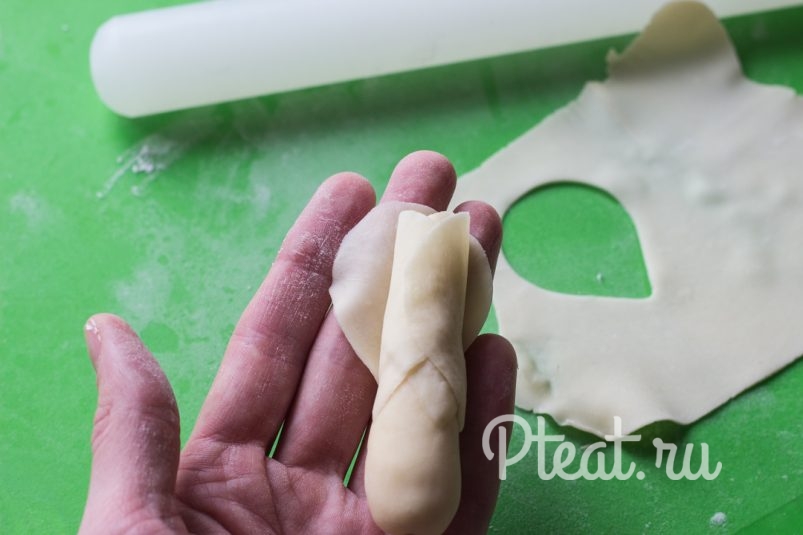
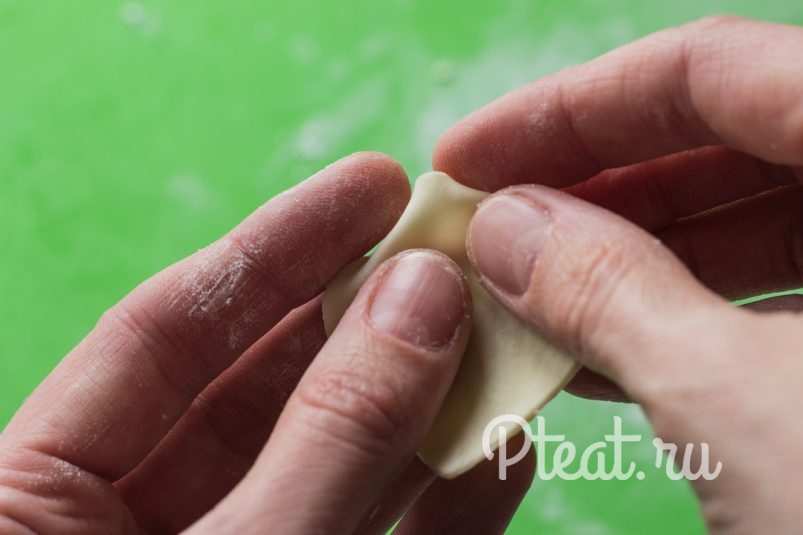
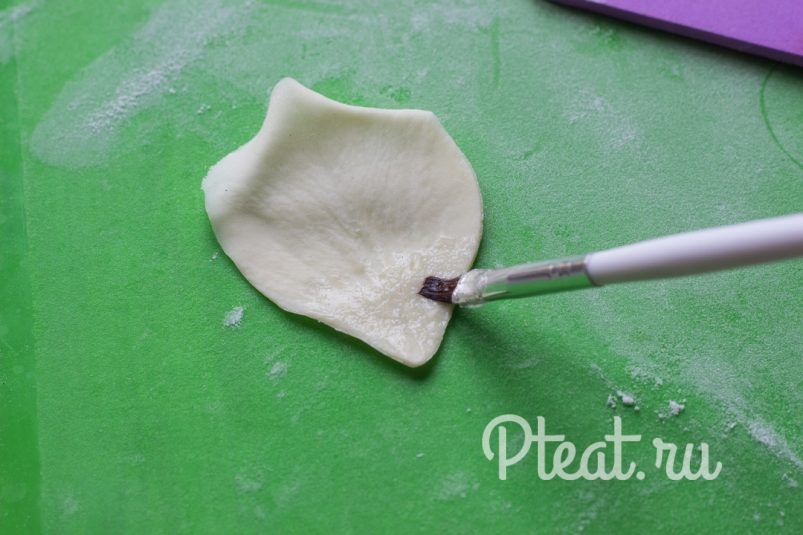
Apply edible glue on the base of the petal.
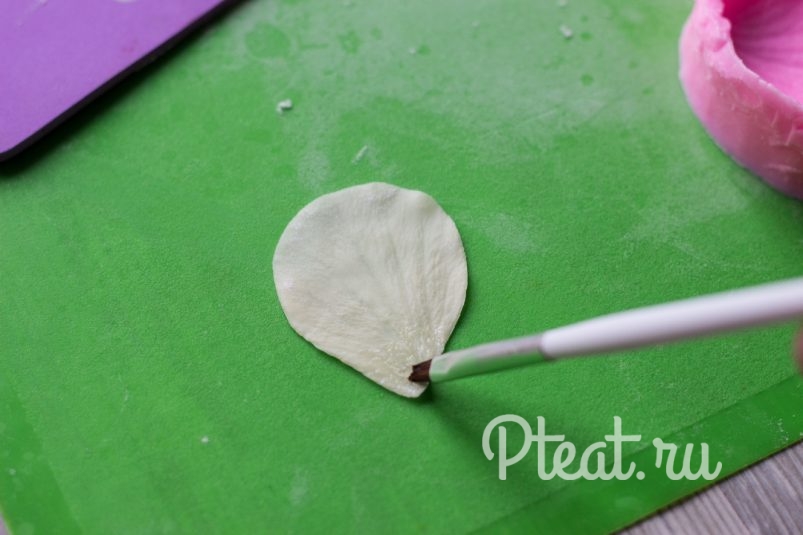
And wrap the cone with the petal. Most of the cone remains unused.
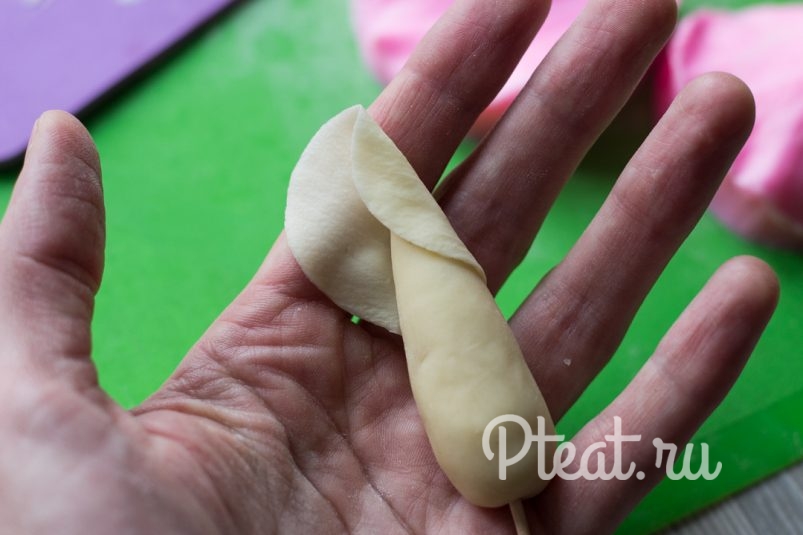
This is OK.

You can glue it a little.
That’s what we’ve got.
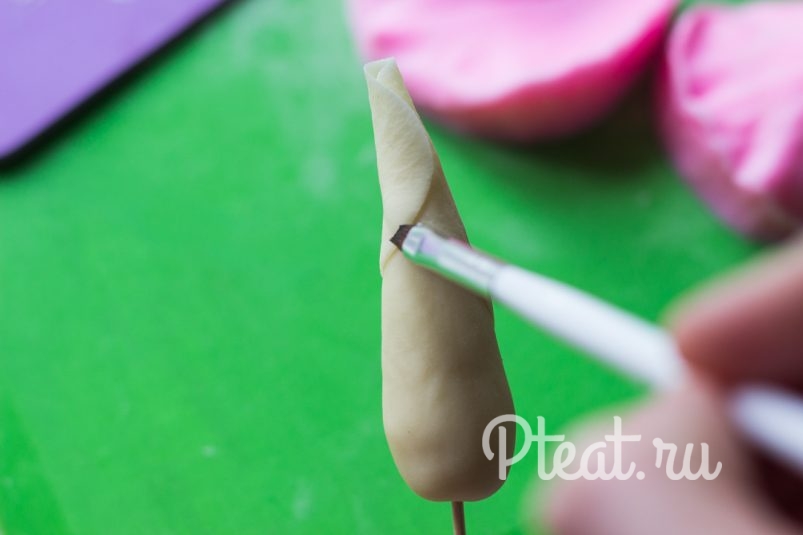
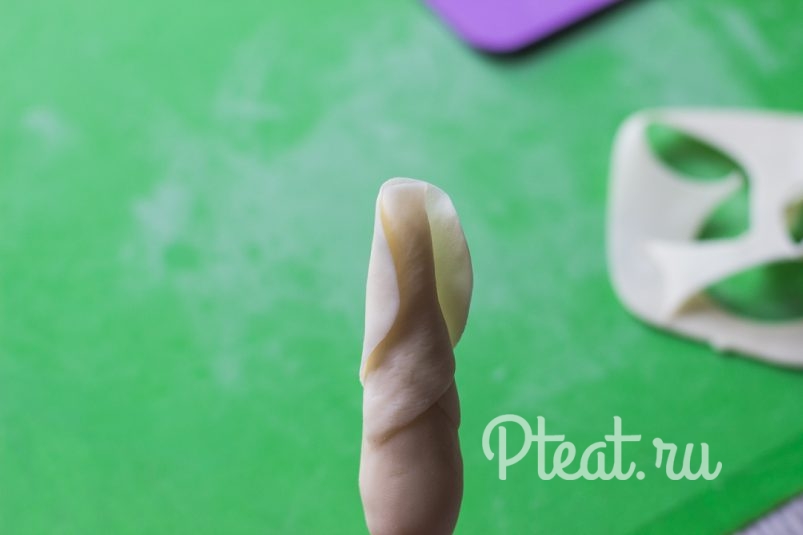
Make the next petal the same way: cut out and thin out its edge.
Shape fibers using the mold.
Apply the glue.
And glue on the side with the «seam», that is, wrap the cone on the other side now.

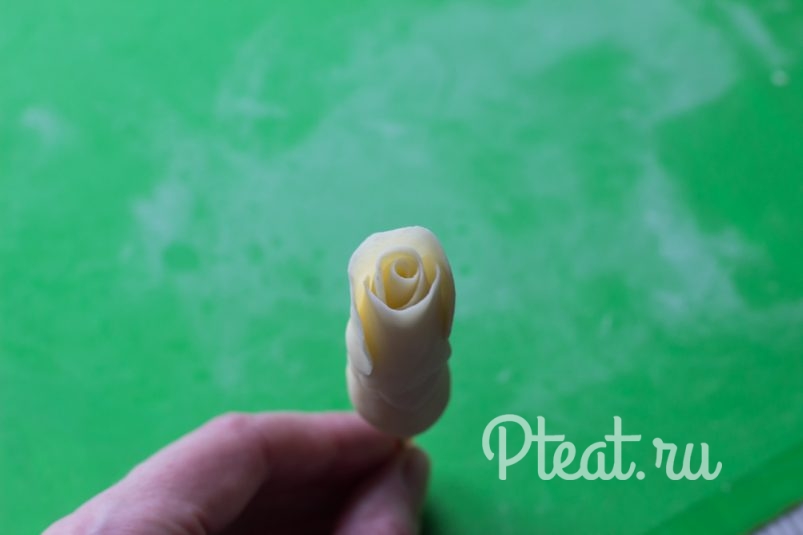
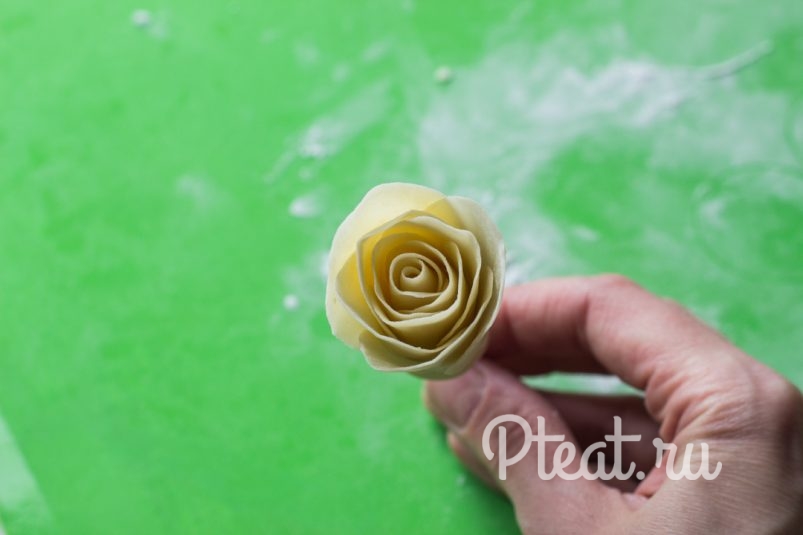
This is how it looks from above.
We will have two petals in the next row. The size is the same. Cut out, thin out, mold and wrap.
View from above.
Glue the second petal from the opposite side.
Like this.
Take a piece of chocolate again.
Roll it out thinly. It should look like this.
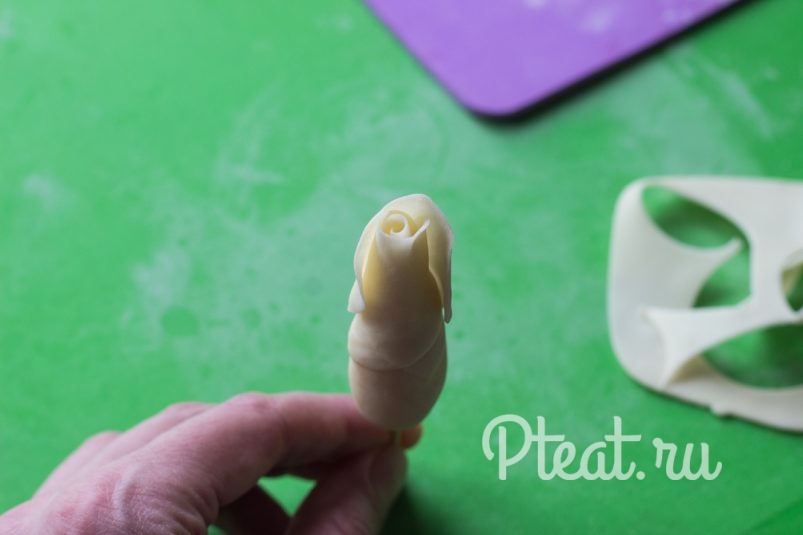
Prepare the petals in the same way as before. Attach them to the joint points. In this row, we will already have three petals. The first…
This is how it looks from above.
The second.
This is a view from above.
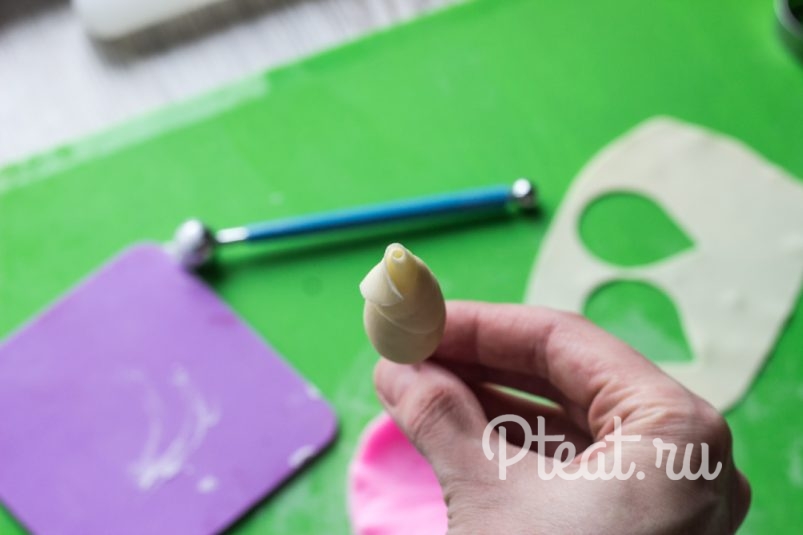
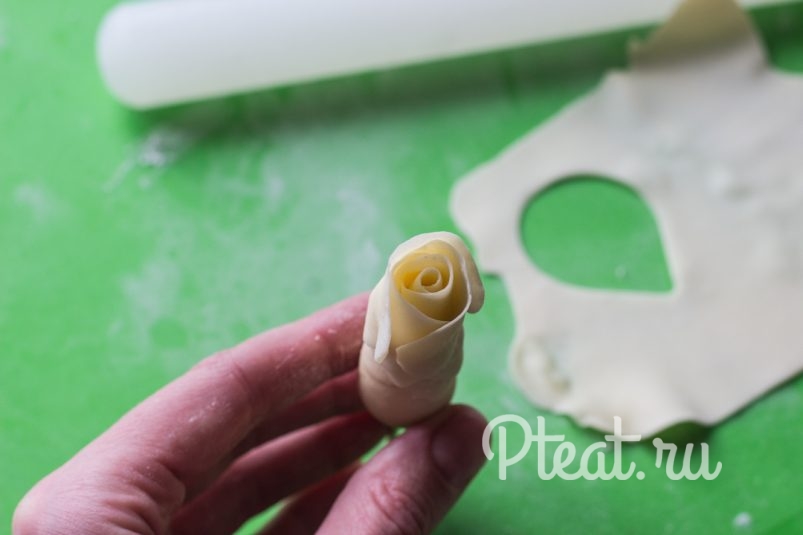
And the third.
Looks like our future rose!
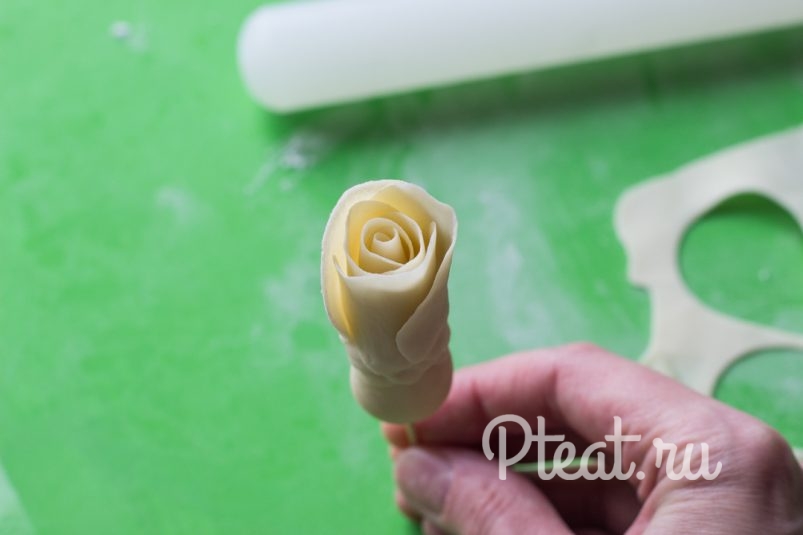
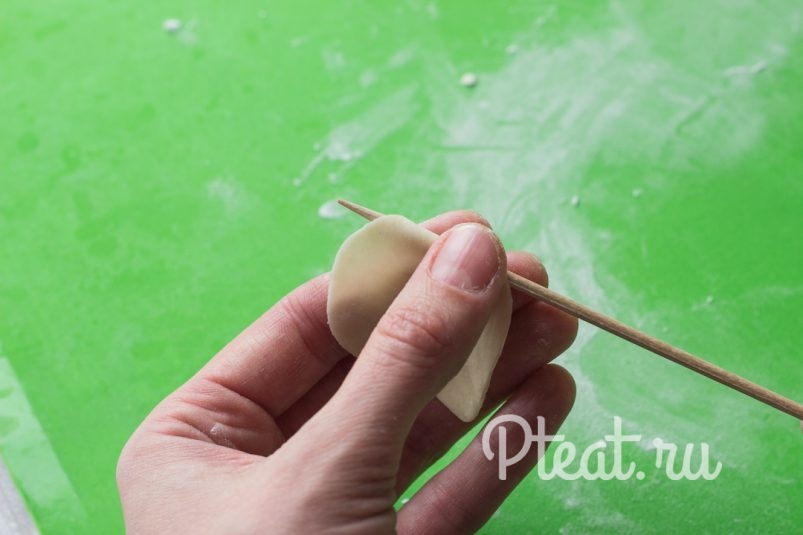
From the next row, you can begin to twist the petals. I just do it with hands.
Like this.
And glued to the joint.
You can twist it with a party pick or toothpick. But it’s not handy for me.
In this row, we have four petals! Be sure to glue them so that one should overlap a little on the other.
That’s how it looks from the side.
While you roll the petals, the rose rests on the foam plastic)))
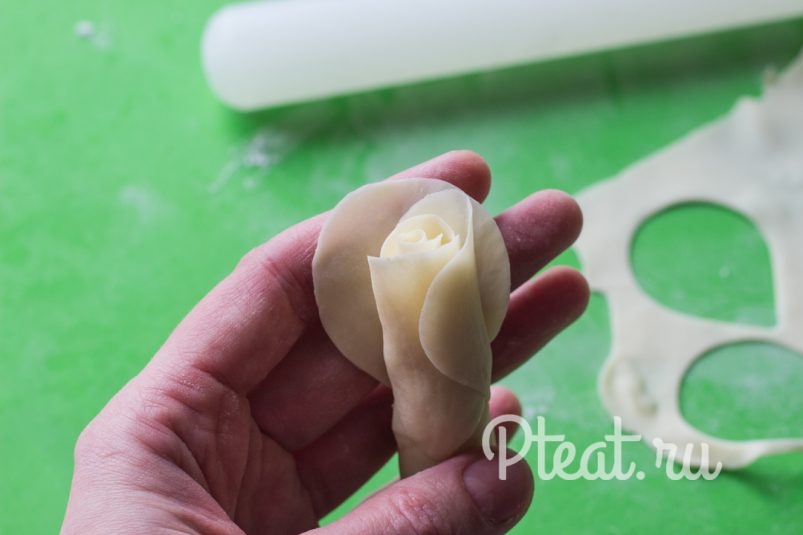
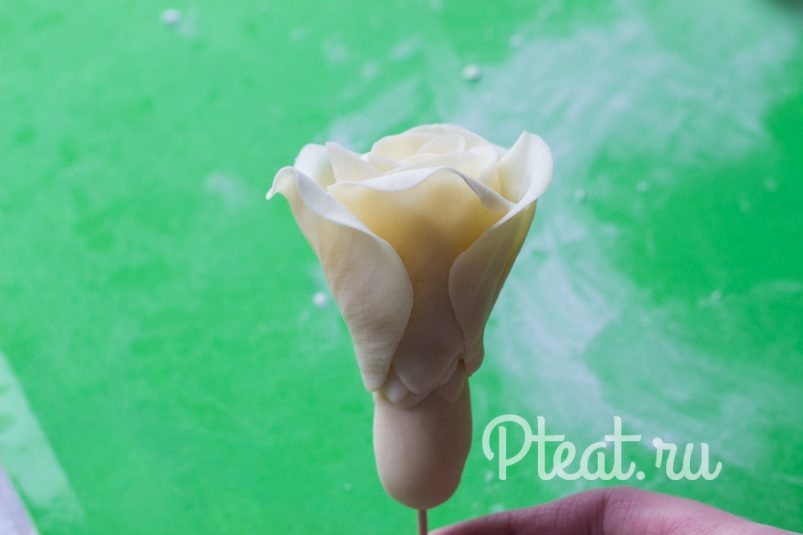
In the next row, we will already have five petals. They are all slightly twisted.
In this row, the petals are already beginning to be capricious; they do not immediately keep the shape (see how one protrudes in the photo?). But keep calm, everything will be at its best!
Hold such petal by hand, you can add a little bit of glue, but do not glue the petals too tightly to the cone, leave the «air» gap.
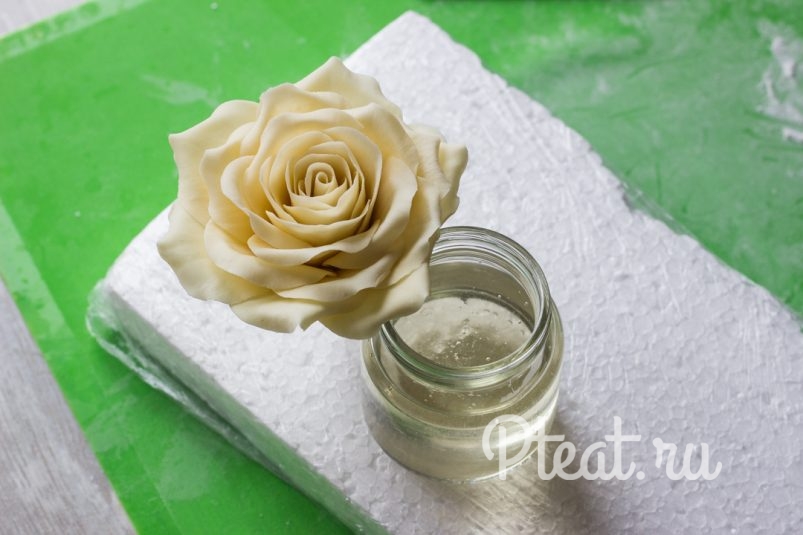
And prop up the petal with any object at hand (I have a jar with edible glue). If the room is cool, literally in a minute or two, the petal will be fixed and the jar can be removed, and the flower will keep its shape. That is, the main thing is to let it stabilize, cure in the cold, and you can keep flowers at room temperature as much as you like, but away from heat sources and direct sunlight!
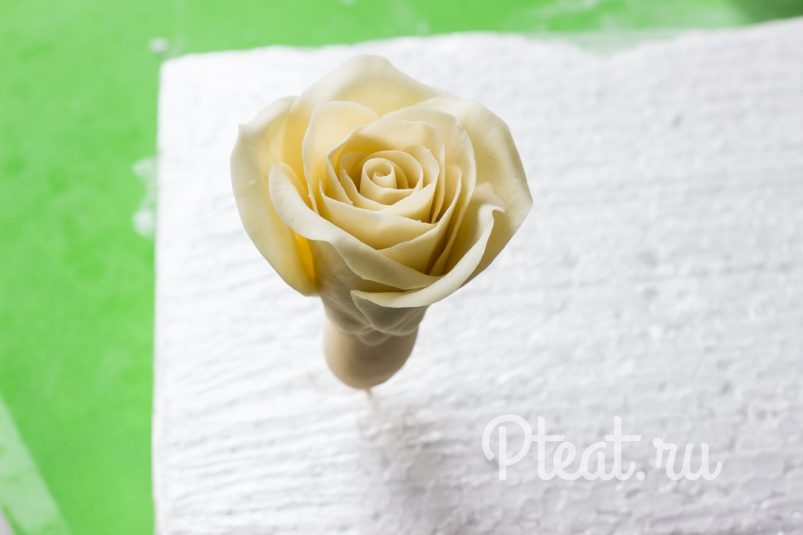
Make the following petals. Still using a cutter of a smaller size. For the sixth row, I no longer roll the petals as thin as for the middle. You see, the base of the petal is much thicker. This makes the petal stronger.

Process petals as we did before, and attach using edible glue. If necessary, prop up an auxiliary object, until the petals are fixed on the cone. Our rose is almost ready.

Side view. You can leave it like this. But I decided to do one more, closing, row of petals.
Roll chocolate. I remind you, it should be not as thin as for the middle. The base of the petals will not be visible, and we will thin out the edges, the petals will look very thin, and the rose itself will look airy!
Cut the petals with a bigger cutter.
I thinned the petals and processed them with the mold…

…twisted, smeared the base and from below along the sides with edible glue.
Then I glued it! And put them at the joints again. And then I glued all the other petals like this: at the joints of the petals in the previous row and overlapping each other.
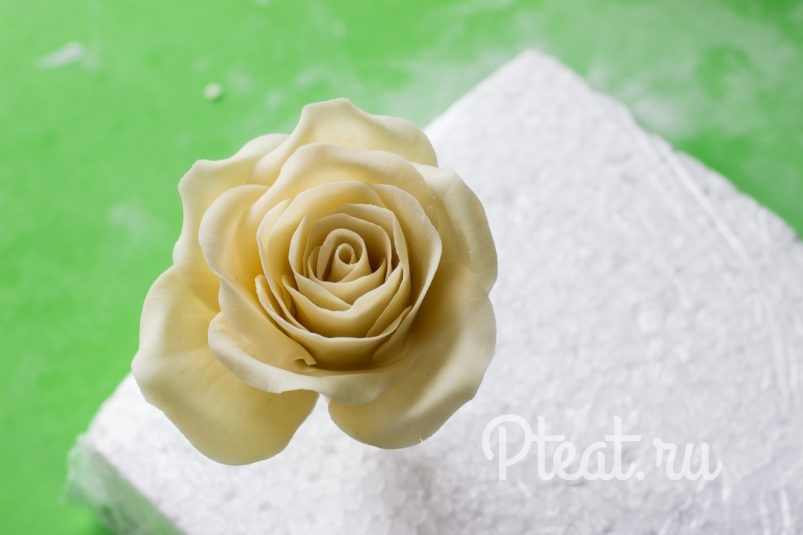
Here is a view from above.
Most likely, the petals will not be very stable at once, so you should hold them. In a couple of minutes everything will be OK.
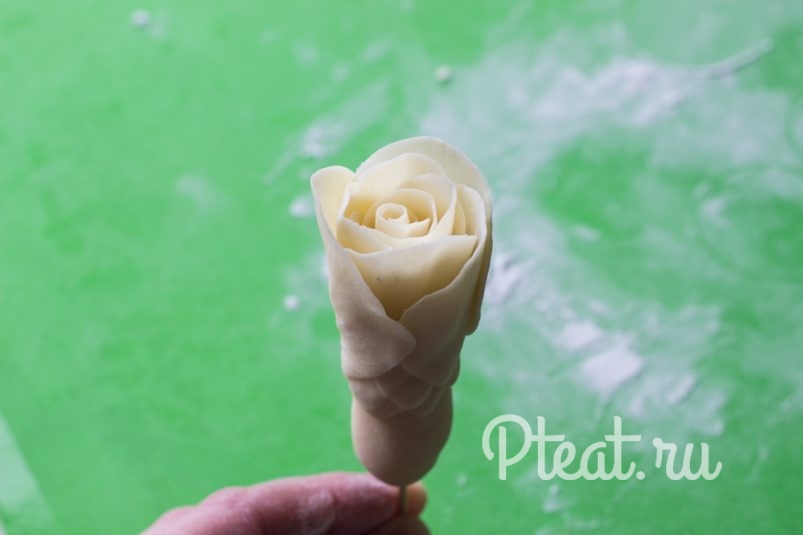
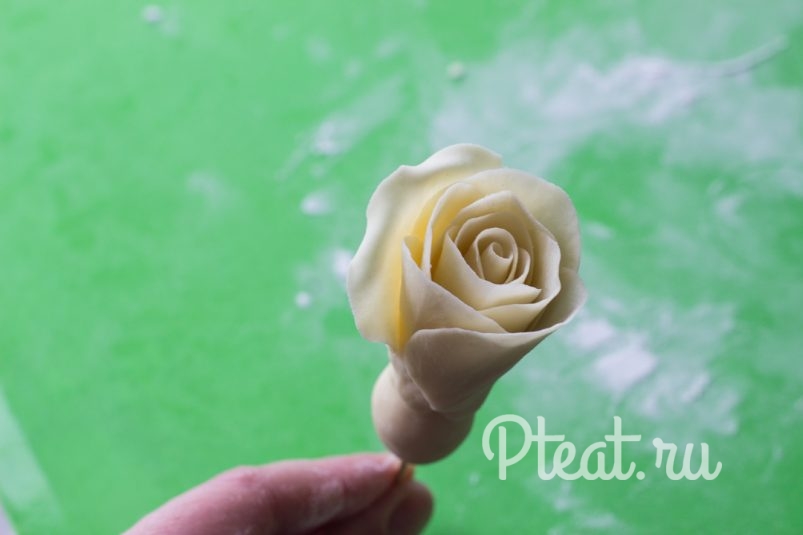
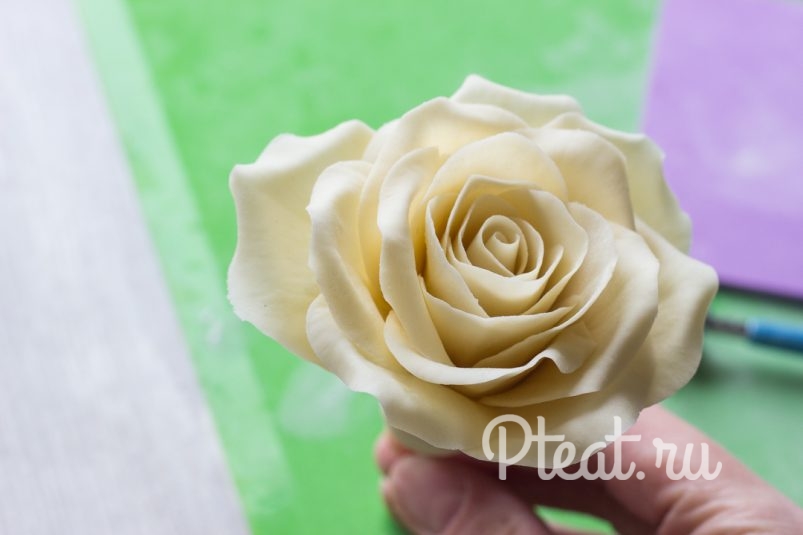
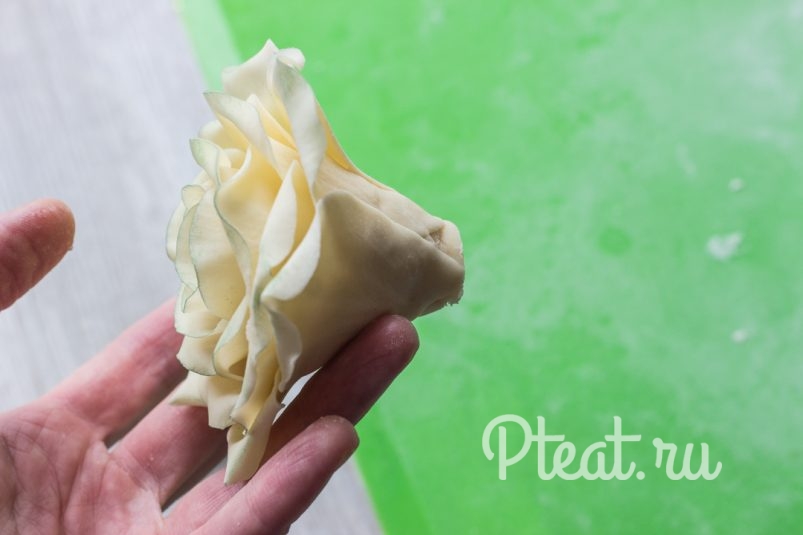
Here it is. The rose stands well on its own without any supporting items.
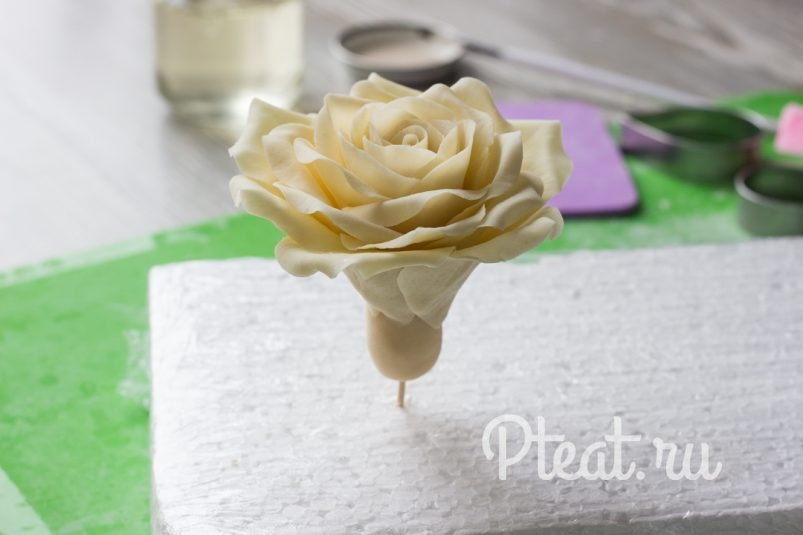
It’s almost ready!
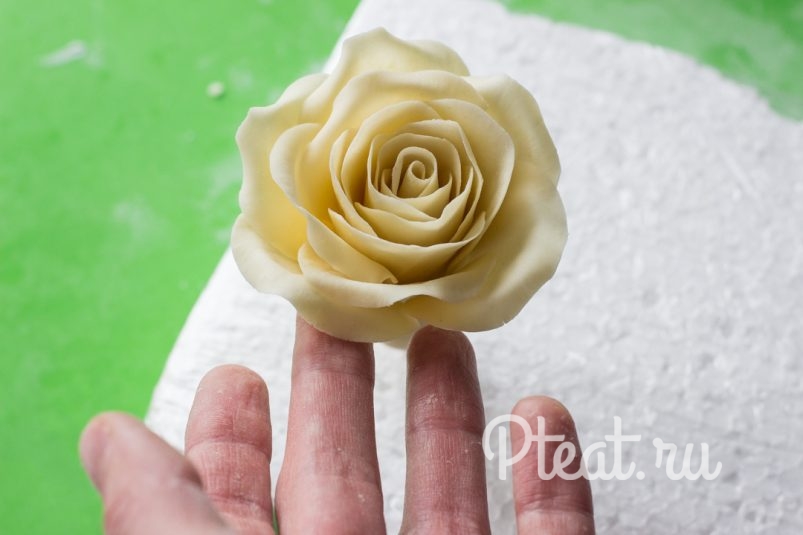
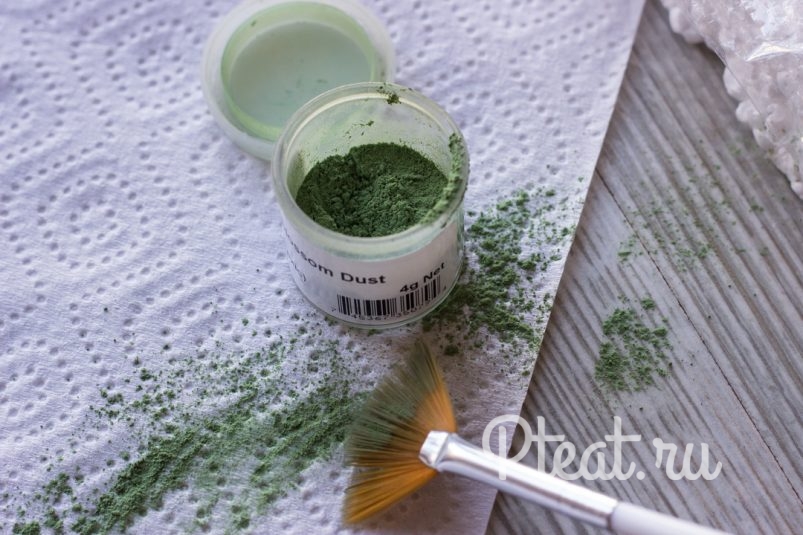
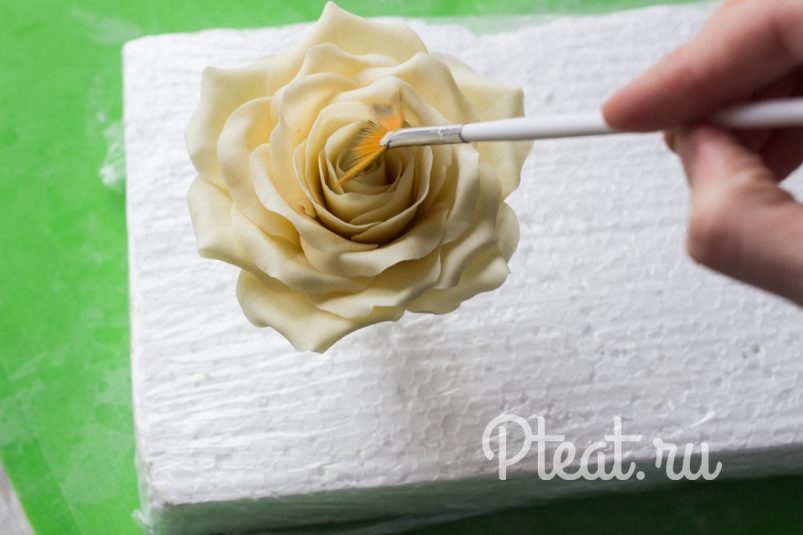
We just have to slightly tone it. Take flower pollen (this is a dry fine powder intended for dyeing sweet flowers from above). Gather it on a dry brush (it is convenient to use the fan-like one, as shown in the photo), shake off the excess on a paper.
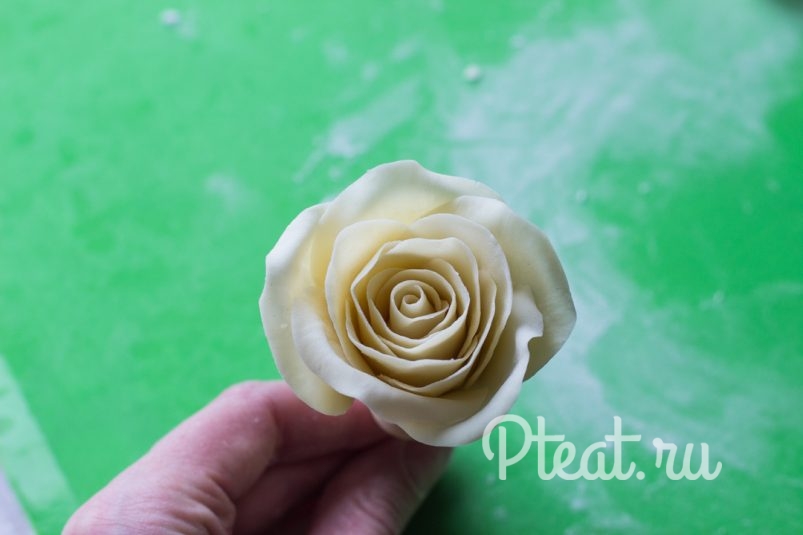
And pass along the edge of the petals to the middle of the flower (inwards). Be careful with the dye! Its excess will bring only dirt.
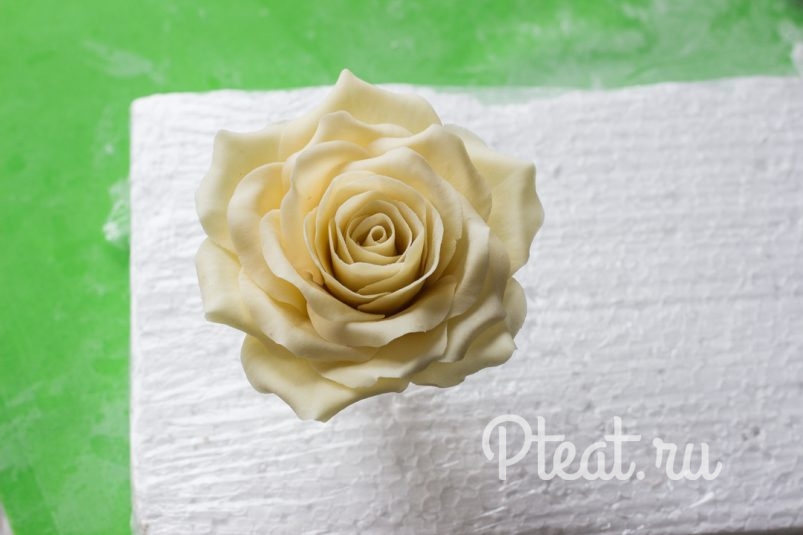
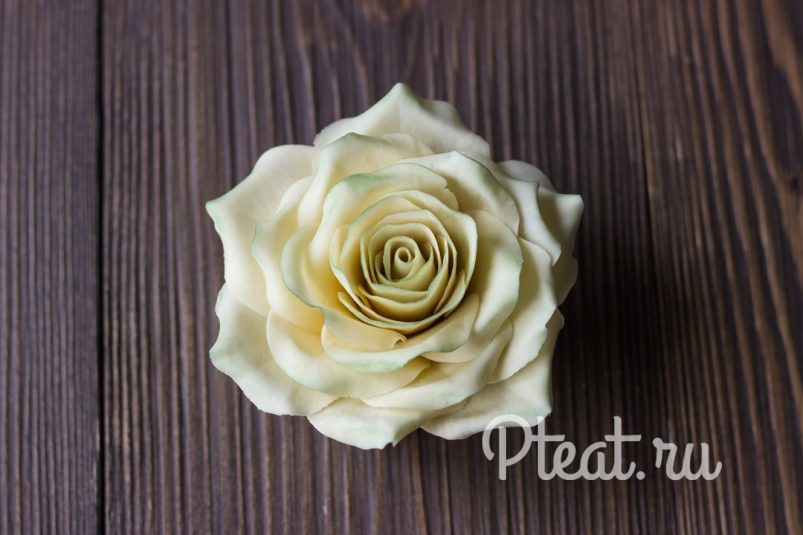
The chocolate rose is ready!
Make buds and leaves!
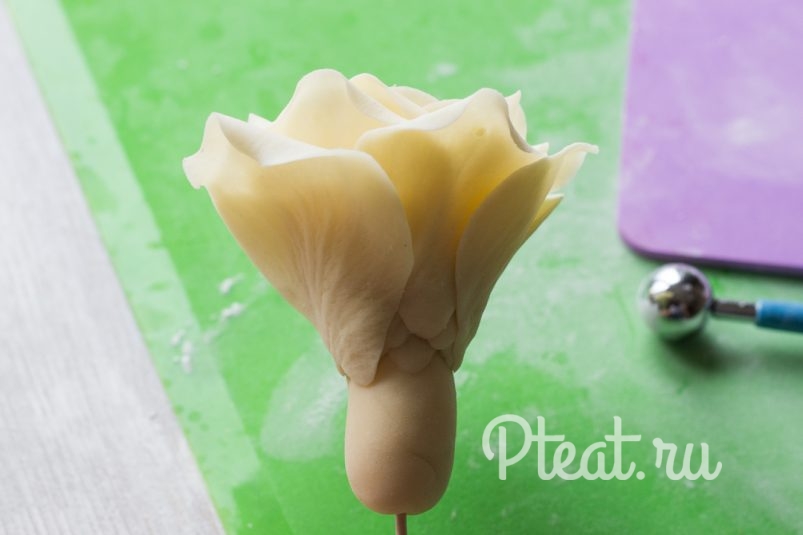
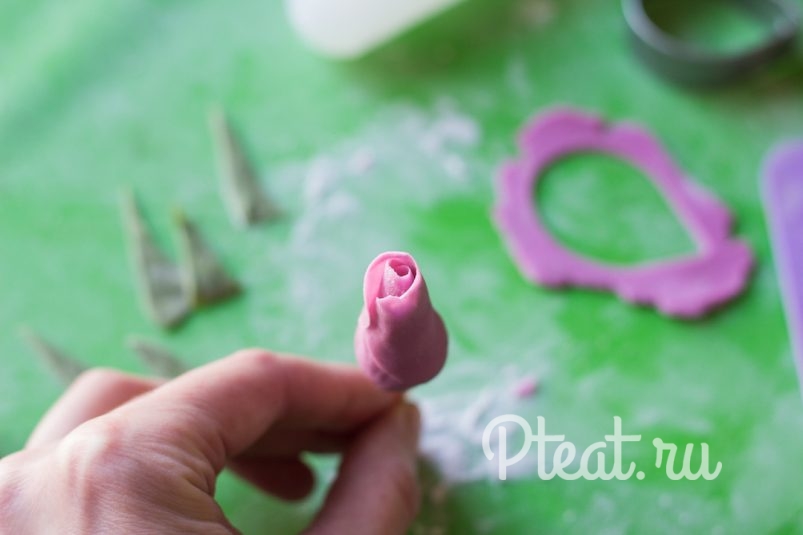
Everything is the same here. For the buds, make a cone, but much smaller in size than for roses. Densely wrap the cone with petals. I made two. One on another. As when we did the middle of the white rose.
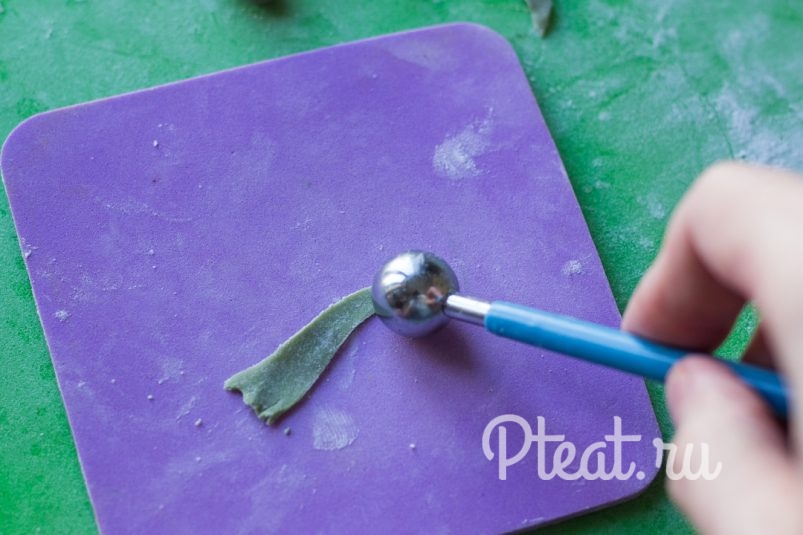
From green chocolate, cut out 5 elongated triangles – for sepals. Thin out.
Glue the triangles to the base of the cone.
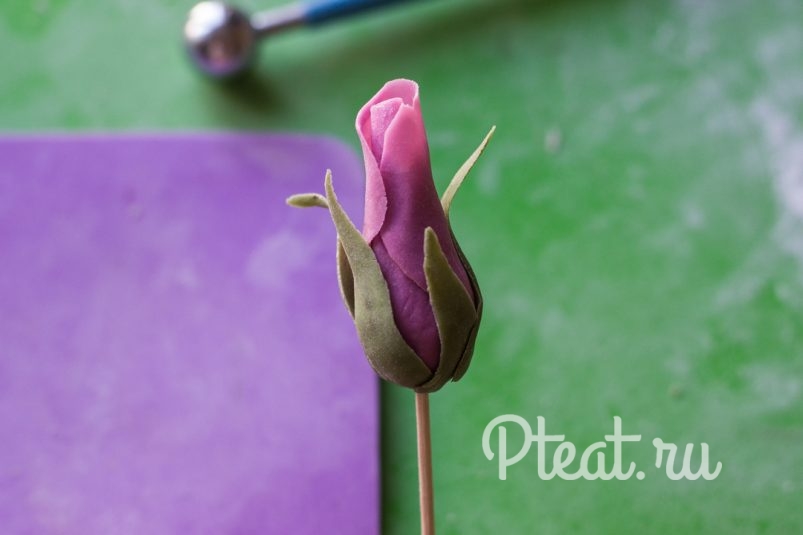
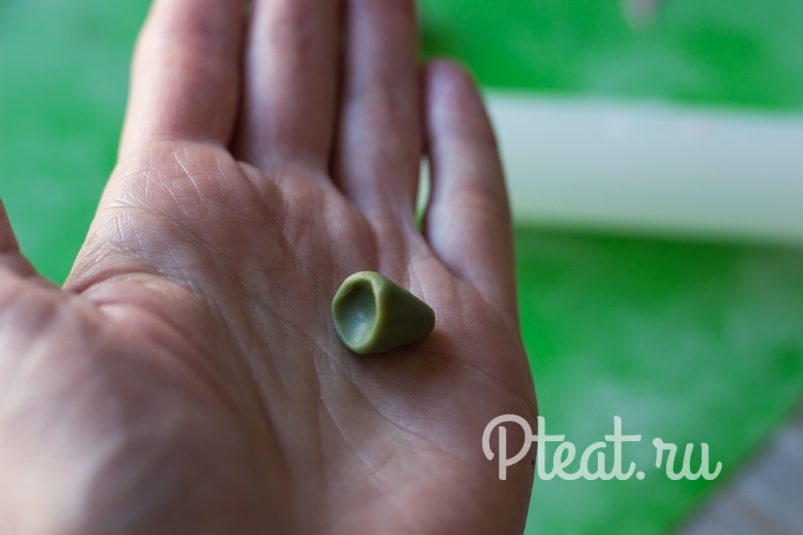
Use a small piece of green figurable chocolate to form the cone and make a depression therein. This will be the middle of the sepal. Insert the bud into the depression, applying edible glue to the place of fastening.
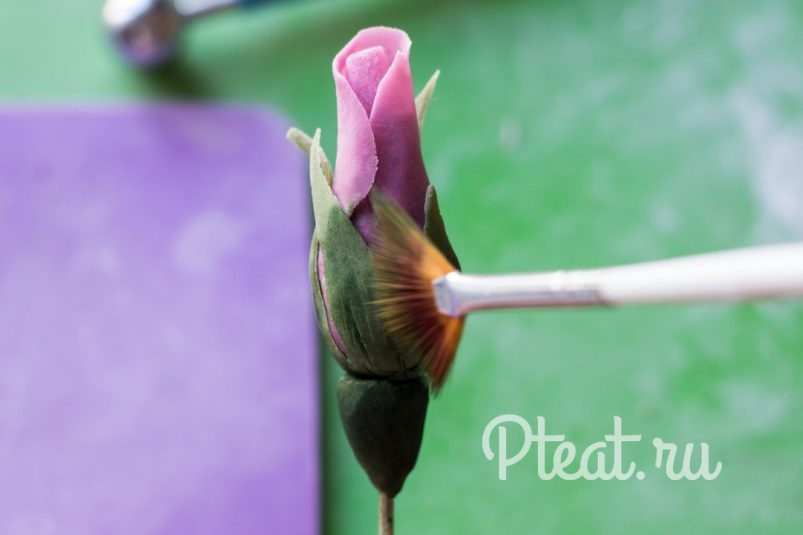
Using a toothpick or a stack you can make grooves and apply a dry, dark green dye (flower pollen). The bud is ready!
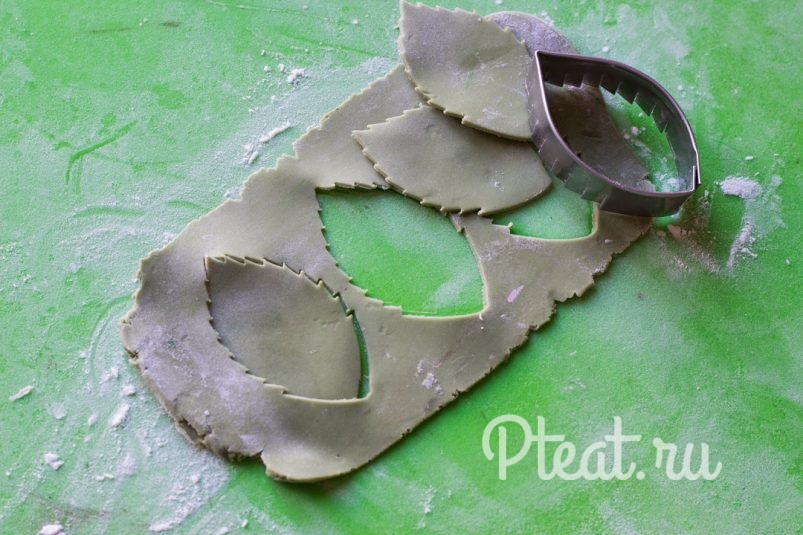
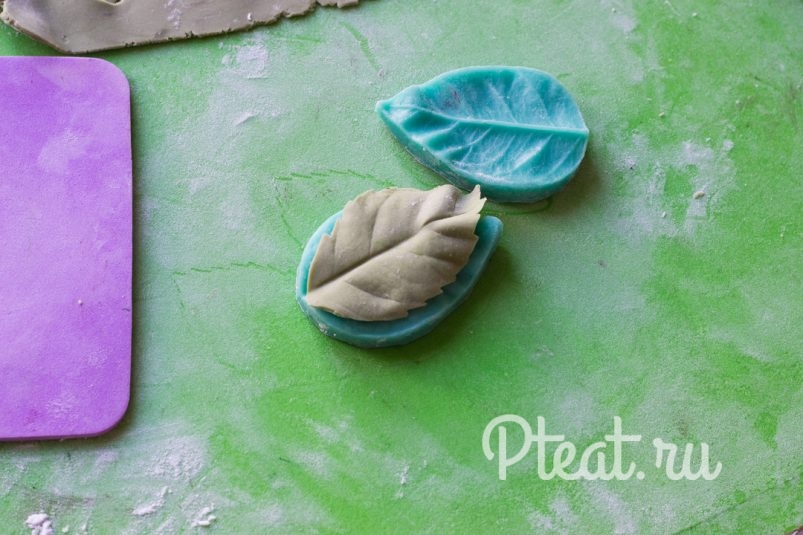
Cut out the leaves from the green figurable chocolate with a cutter.
Thin out! Only in this way they will look more natural and realistic!
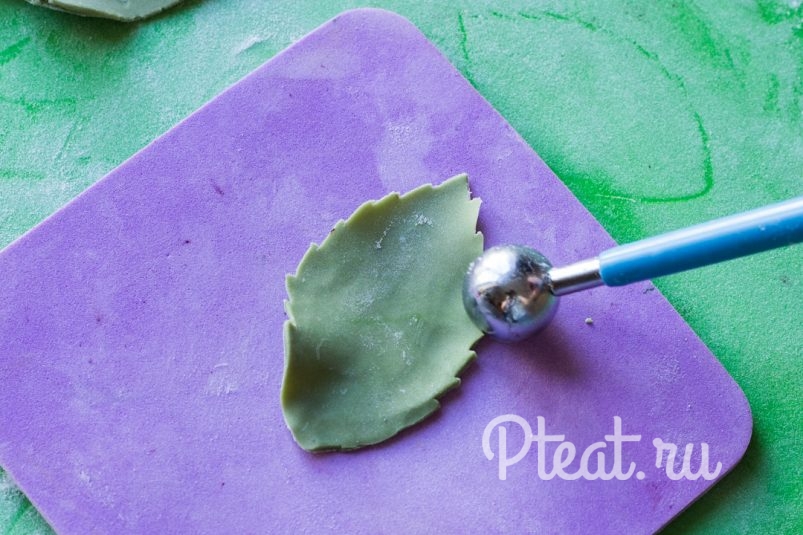
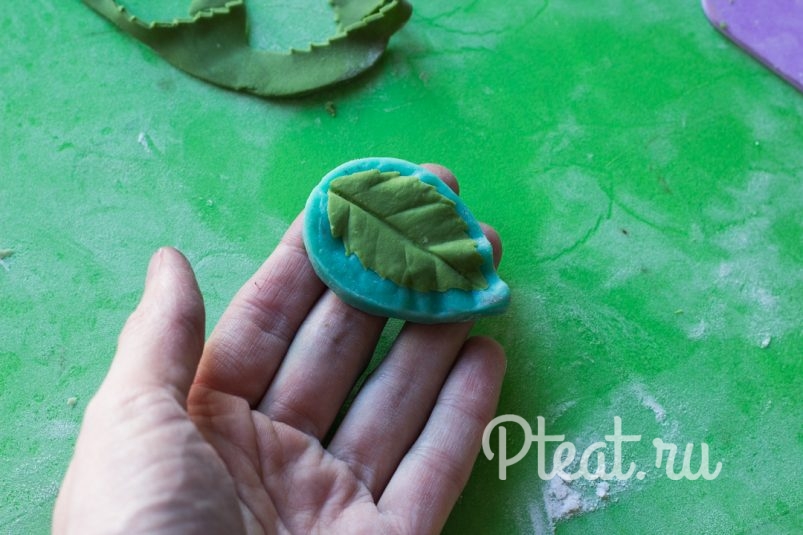
Now, it’s time to use the mold! And the leaf is ready! You can apply dry dye on its edges – different shades of green or brown.
Make the leaves also from chocolate painted in a different shade of green – brighter. In this way, our composition will be more vivid and interesting.
Roll out tubes from figurable chocolate of different shades and twist them in spirals. Let them harden. These spirals will also look very nice in our sweet bouquet.
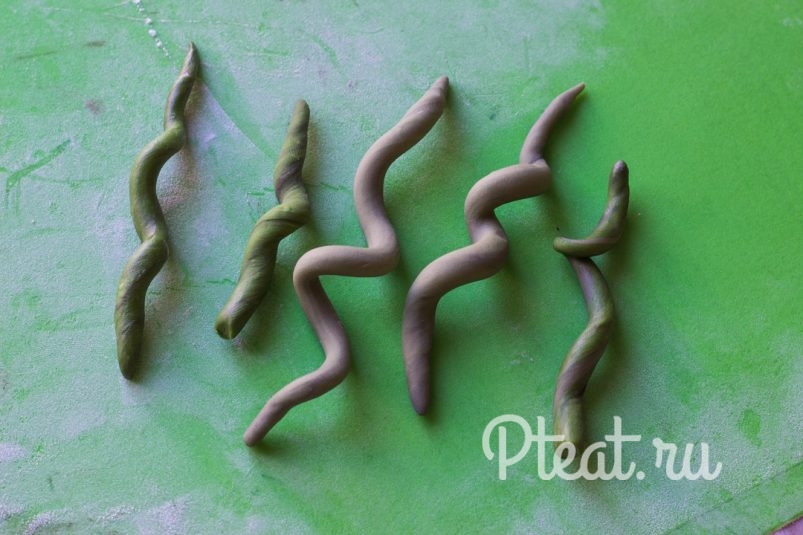
That’s what we got!
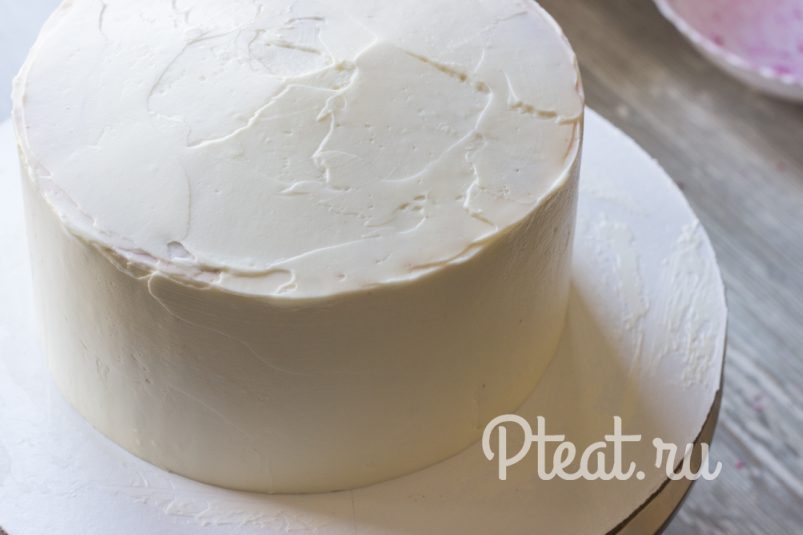
I marked places on the cake where the roses will be located, and cut out holes slightly larger than the diameter of the base of the roses.
Then using the scissors, I cut off the base of the roses.
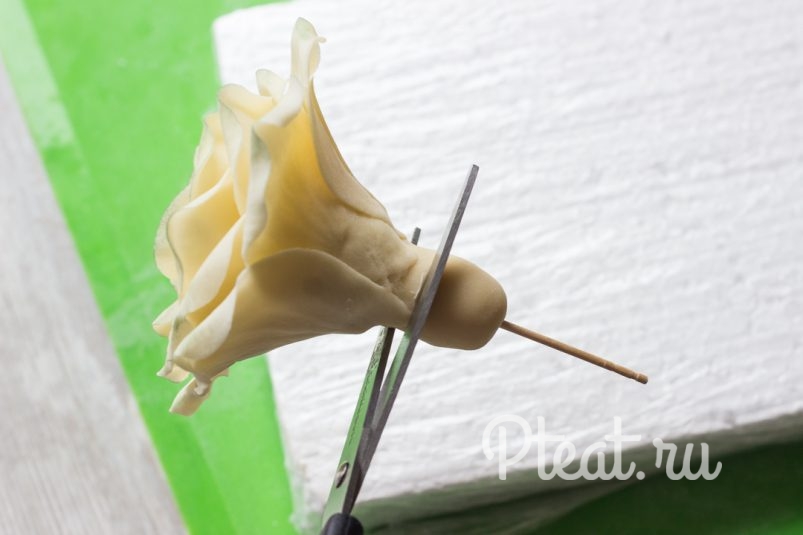
Like this.
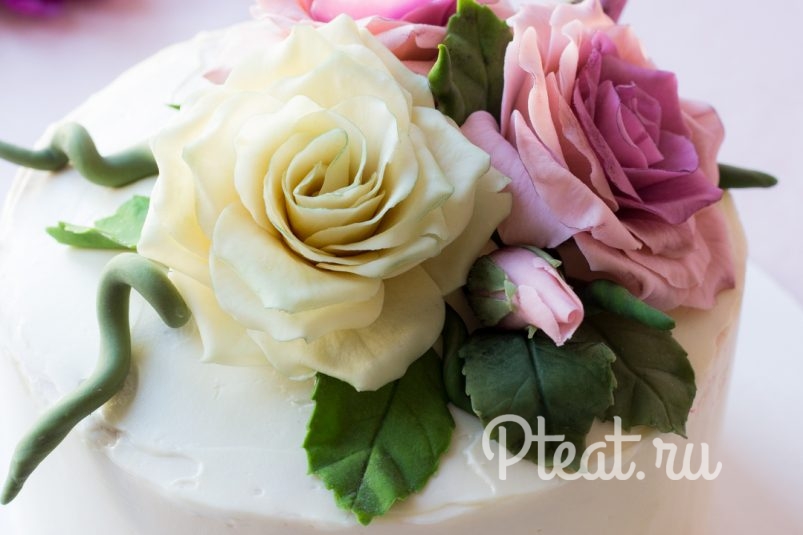
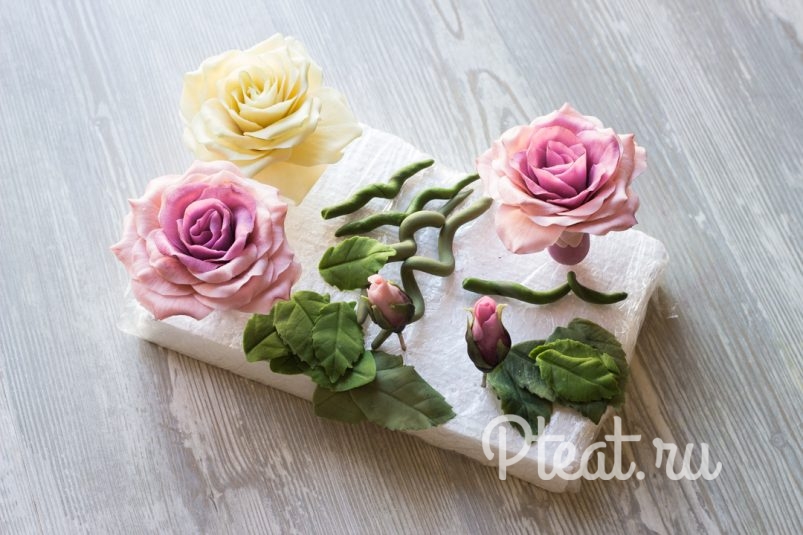
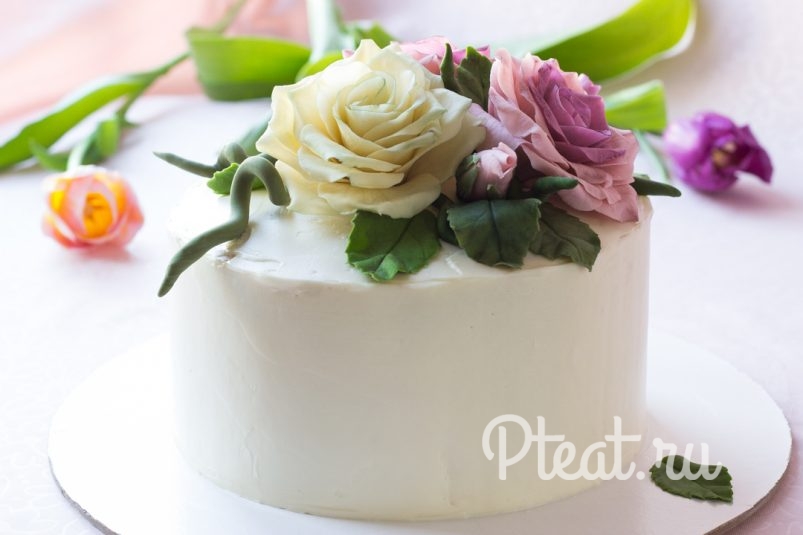
Then I gently pushed the roses into the holes in the cake, and just spread out the buds, twigs and leaves on the cream in the way it seemed more beautiful to me. Everything is held very strong on the cream!
That’s the ready cake!
I hope this MC was useful to you! Thank you for attention!
Добавить комментарий